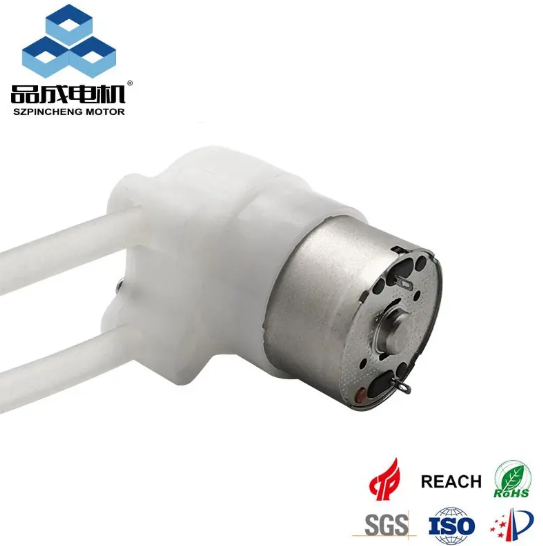
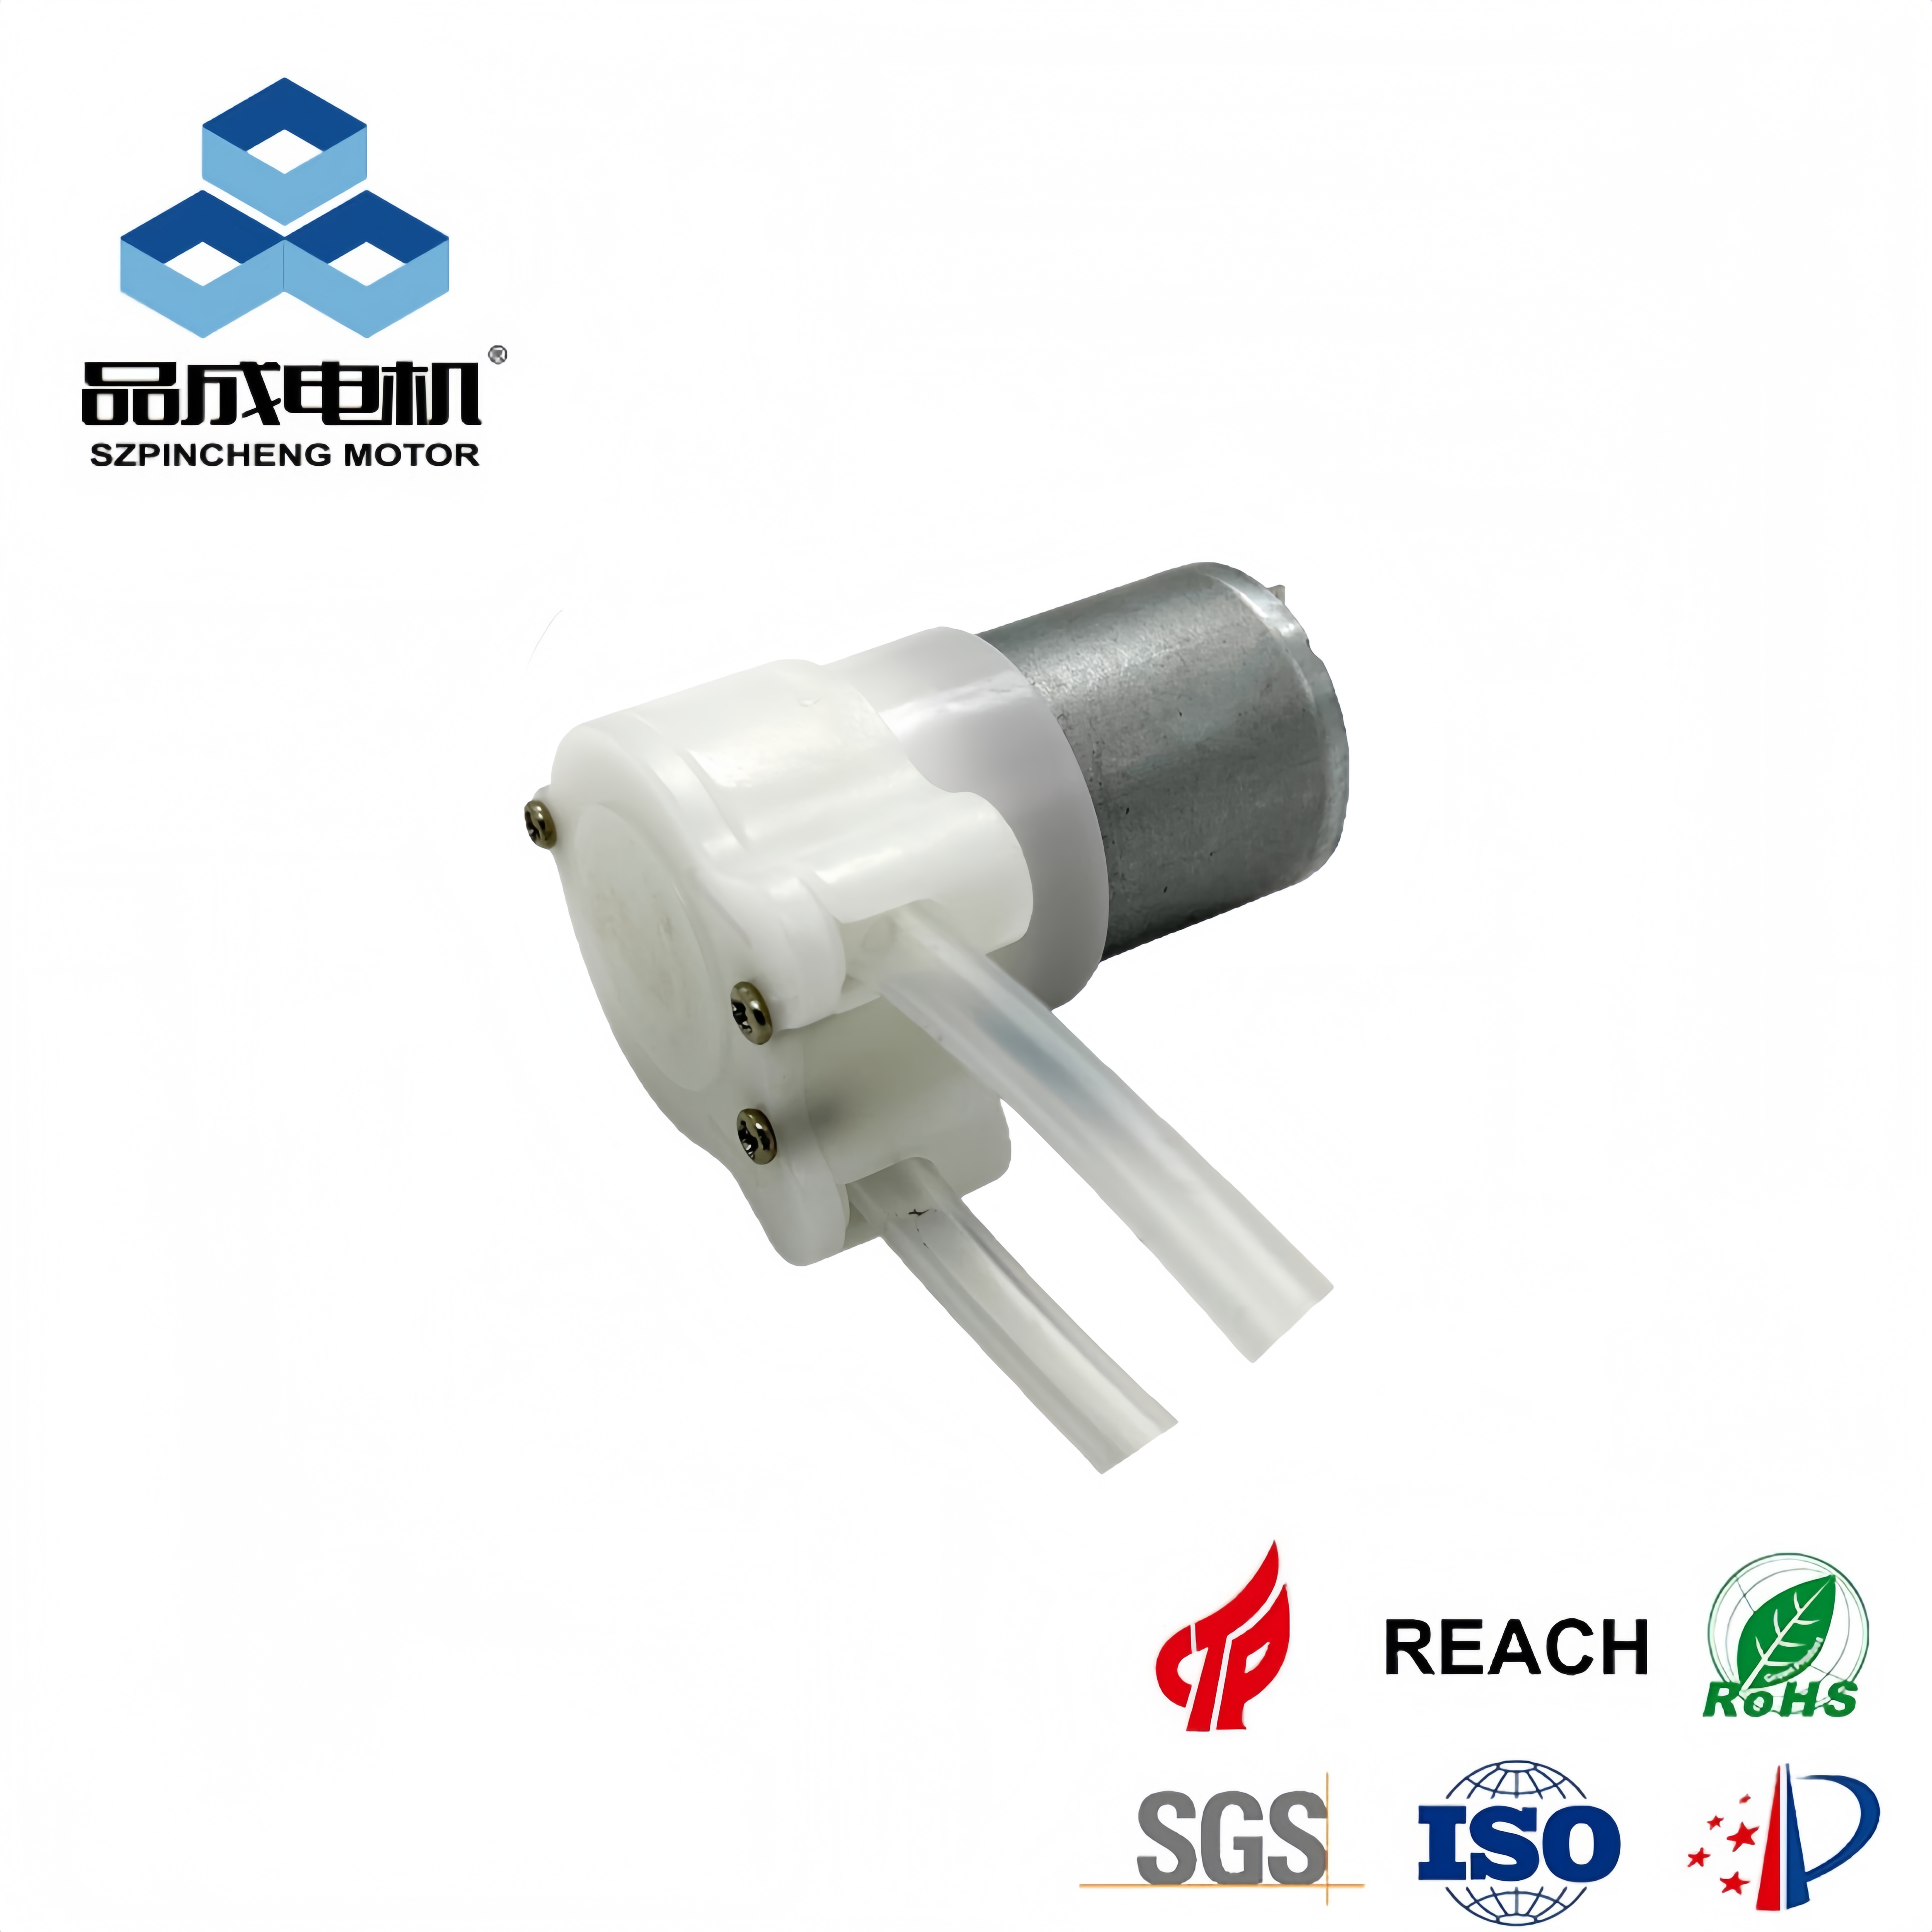
Peristaltic pumps include micro peristaltic pumps, 12-volt micro-peristaltic pumps, mini peristaltic pumps, tiny peristaltic pumps and other multifunctional models. Because of their ability to transport precise fluid volumes, they are widely used in pharmaceutical, food and beverage, water treatment, laboratory research and other industries.However, as time goes on, such as pipe wear, motor drift or Settings and other factors will reduce the accuracy, especially in a compact system, more sensitive to operating stress components.Regular calibration of peristaltic pumps -- whether standard industry units or specialized mini peristaltic pumps -- is critical to ensuring consistent performance, meeting quality standards, and avoiding costly errors.In this tutorial, we will guide you through the complete process of peristaltic pump calibration, from preparation to verify, covers for desktop and portable devices (such as 12 v mini peristaltic pump) the key steps.
Why calibrate peristaltic pumps?
Before understanding the calibration steps, it is essential to understand why this process is necessary.Peristaltic pumps rely on a rotating roller mechanism to compress the hose and push the fluid through.Overuse can cause the hose to stretch, harden or crack, and the motor speed may deviate from the set value. Failure to calibrate can lead to the following problems
- Process inconsistency: Incorrect fluid delivery during manufacturing can lead to product defects or batch failure.
- compliance issues: pharmaceutical and medical equipment industries must comply with regulatory standards (e.g., FDA, ISO), the standard calibration on a regular basis.
-Waste and cost: Excess or insufficient fluid can cause material waste and may lead to product rework or scrap.
- Laboratory error: In a research setting, inaccurate fluid delivery can invalidate experimental results.
In general, the peristaltic pump should be calibrated every 3-6 months;Calibration should be more frequent if used continuously, handling abrasive liquids, or operating in harsh environments.
Preparation before calibration: Tools and safety instructions
The correct preparation can ensure smooth and accurate calibration process.Before you begin, have the following tools ready and follow the safety protocols:
1. Tools and materials required
-Clean and dry container: a small beaker or flask of known volume (for example, 50mL or 100mL) for collecting liquids.
-Precision balance: A balance with a resolution of at least 0.01g (small volume) or 0.1g (large volume) for weighing the collected liquid.
- Timer: stopwatch or digital timer to measure the time of fluid collection (most pumps have a built-in timer, but use a separate timer to ensure accuracy).
- Calibration fluid: use the same liquid used by the pump in daily operation (e.g., water for general use, solvent for industrial applications).Distilled water is ideal for initial inspection because its density, 1g/mL at 20°C, simplifies volume calculations.
- New pump tube (optional) : If the existing pump tube is worn, replace it before calibration so as not to affect the calibration results.
- User manual: Please refer to the pump specific setup guide provided by the manufacturer (e.g. pump tube size compatibility, speed range).
- cleaning products: pump, pump pipe and container cleaning wipes or cloth, in order to prevent cross contamination.
2. Security considerations
- Disconnect the pump if you need to change the line or adjust the mechanical parts.
- Wear gloves, goggles, and lab coats if using hazardous liquids (e.g., chemicals, corrosive substances). Please work in a well-ventilated area.
- make sure pump placed on a stable surface, in order to prevent the liquid overflow or dump.
- If the line has been previously exposed to corrosive substances, flush the line with a neutral liquid such as water before calibration.
Peristaltic pump calibration steps in detail
This guideline uses weight-based calibration, which is currently the most reliable and widely used technique for peristaltic pump calibration.It is the use of fluid the relationship between the weight and volume (= weight/volume density) for precise measurement.
Step 1: set the pump and equipment
1. Install hose: If the hose needs to be replaced, insert it into the pump head according to the manufacturer's instructions and ensure that it is properly aligned with the roller (failure to align will result in uneven fluid delivery).
2. Liquid injection to the pump: connect the liquid inlet pipe to the calibration liquid storage tank, and connect the liquid outlet pipe to the collection container.Start the pump briefly to drain air bubbles in the hose - bubbles can cause inaccurate volume readings.
3. Zero the balance: Place the clean, dry collection container on the precision balance and press the "Peel" button to reset the reading to 0g.This eliminates the influence of the weight of the container on the final measurement.
4. Setting up the pump parameters: use the control panel to adjust the pump to the desired velocity or speed (for example, 10 ml/min).Record the Settings for reference.
Step 2: Collect the calibration liquid
1. Start the timer and pump: start the timer and pump at the same time to start collecting the liquid.For small flow rates, ≤10mL/min, 5-10 min were collected to minimize measurement errors.For larger flow rates (≥50mL/min), collect for 1-2 minutes.
2. Accurate stop: at the end of the timer, immediately shut off the pump and avoid excessive collection.After stopping, make sure no liquid drips into the container from the outlet pipe.
Step 3: Calculate the actual flow rate
1. Weighing collecting liquid: record the total weight of the container and the liquid.Since the container had been peeled previously, this reading was the net weight of the liquid in grams.
2. Convert weight to volume: Calculate the actual volume of liquid delivered using the following formula:
Actual Volume (mL) = net weight (g)/liquid density (g/mL) For example, if you collected 45 grams of distilled water (density = 1 g/mL), the actual volume would be 45 mL.
3. The actual flow rate: the actual volume divided by the collection time (minutes) to get the actual flow rate:
Actual flow rate (mL/min) = actual volume (mL)/Collection time (min) In the above example, if the collection time is 5 minutes: Actual flow rate = 45 mL/ 5 min = 9 mL/min.
Step 4: Compare the actual flow and the set flow
Calibration errors are calculated to determine if adjustments are required. The formula is:
Error (%)=[(actual flow - set flow)/set flow]× 100
Most of the industry to accept range of error is plus or minus 5%.If you fall within the scope of the pump, the calibration is complete. If not, continue adjusting the pump.
Example: Set flow = 10mL/min, actual flow = 9mL/min.Error = [(9-10)/10]× 100 = -10% (beyond acceptable range).
Step 5: adjust the water pump
1. Adjust the flow/speed: use the pump control panel to adjust the Settings.If the actual flow rate is lower than the set flow rate (e.g. 9mL/min vs. 10mL/min), increase the speed or flow rate slightly (e.g., to 10.5mL/min).
2. Repeat calibration: Repeat steps 2-4 to collect the fluid, calculate the new actual flow rate, and check the margin of error. Continue to adjust until the error is within ±5%.
3. Many times test validation: the calibration test for 2-3 times in a row in order to ensure consistency.If results vary substantially, check for tube wear, bubbles, or inaccurate balance.
Step 6: record the calibration
The appropriate documentation is vital for compliance and reference in the future. Record the following details:
- Pump model number, serial number and location.
- Calibration date and time.
- use of calibration liquid and its density.
- Set "Flow" and "Actual flow".
- Adjustments were made (e.g., "Increased speed from 50rpm to 55rpm").
- Calibration error percentage.
- name and signature of calibrator.
- the next scheduled date of calibration.
Elimination of common calibration problems
If you encounter a problem during the calibration, use this troubleshooting guide to identify and resolve the problem:
1. Large correction error (±10% or above)
- Cause: wear or damage of pump pipe;Pipe size is not correct;There are air bubbles in the tube.
- the solution: replace the new tube size right;To pump gas again, remove air bubbles.
2. Inconsistent results between tests
- Cause: the balance is unstable (for example, placed in a ventilated or vibrating place);Uneven roller pressure;Fluid temperature change (density changes with temperature).
- Solution: Shift the sky to a stable, no-draft area;Check whether the pump head has loose rollers (tighten according to the manufacturer's instructions);Ensure the consistent of the calibration fluid temperature (for example, 20 to 25 ° C).
3. There is no fluid delivery during calibration
- Reasons: Pipes are blocked;Incorrect piping installation;Clear fluid reservoir.
- Solution: flush the pipe to remove the blockage;Reinstall the tube according to the user's manual;To fill the accumulator.
Maintenance tips after calibration
In order to extend the peristaltic pump after the calibration accuracy and service life:
-Regular inspection: Check every 2-4 weeks for cracks, stretching or wear.If it is found that the pipe is damaged, replace immediately.
- Clean pump head: Remove debris or dry fluid from rollers and housing to prevent friction and uneven compression.
- Proper storage of rubber tubes: Store unused rubber tubes in a cool, dry place, away from direct sunlight (ultraviolet light can degrade rubber tubes).
- Schedule routine calibration: Stick to a fixed calibration schedule (e.g., once every 3 months) and adjust according to the intensity of use.
Final thoughts
Calibration peristaltic pump is a simple process, ensure the accuracy, compliance, and cost savings.By following this step-by-step guide, from preparation to documentation, you can maintain consistent performance and avoid errors in key applications.Remember to use the method based on weighted to ensure the reliability, ruled out problems in time, and record all calibration activities to conform to the laws and regulations.Through regular calibration and maintenance, your peristaltic pump will provide accurate results in the next few years.
you like also all
Post time: Nov-05-2025


