

By: Pinmotor Engineering Department
Expert Verified by: Chief Technical Officer, Pinmotor
Last Updated: December 2025
Introduction
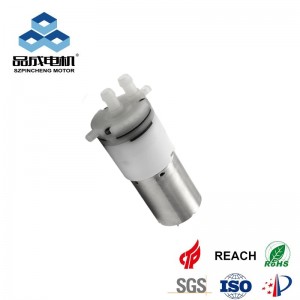
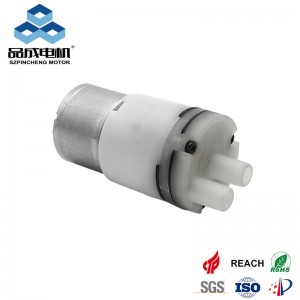
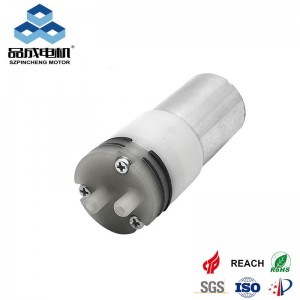
Micro pumps (diaphragm pumps, vacuum pumps, etc.) are critical components in medical devices, printers, and industrial machinery. Over time, wear and tear can reduce performance. This guide provides a professional walkthrough on how to safely replace a micro pump to restore your equipment’s efficiency.
Troubleshooting — Do You Really Need a New Pump?
Before removing your old pump, check for these common failure signs:
-
Low Flow Rate: The pump runs but moves less fluid/air than before.
-
Excessive Noise: Grinding or loud buzzing often indicates motor or bearing failure.
-
Leakage: Visible fluid around the pump head or connectors.
-
Startup Failure: The pump gets hot but won't start.
Pro Tip: Check your power supply and filters first. A clogged filter often mimics a broken pump.
Essential Pre-Replacement Checklist
To avoid system incompatibility, ensure your new pump matches these specifications:
| Feature | Requirement |
| Voltage | Must match exactly (e.g., DC 12V, 24V, or AC 110V/220V) |
| Flow Rate | Should be within ±10% of the original specs |
| Port Size | Check the diameter of the hose barbs or threads |
| Material Compatibility | Ensure the pump head (EPDM, PTFE, etc.) is safe for your liquid/gas |
Step-by-Step Replacement Instructions
Step 1: Safety and Preparation
-
Turn off the power and unplug the equipment.
-
If handling liquids, drain the lines or use clamps to prevent spills that could damage electronics.
Step 2: Disconnect the Old Pump
-
Take a Photo: Snap a picture of the wiring (Positive vs. Negative) and tubing direction for reference.
-
Remove Tubing: Carefully loosen clamps and pull off the hoses. If the hose is stuck, snip 1/2 inch off the end to get a fresh seal later.
Step 3: Install the New Pump
-
Orientation Check: Look for the arrow on the pump body. The arrow indicates the direction of flow (Inlet to Outlet).
-
Mounting: Ensure the rubber anti-vibration feet are seated correctly to keep the operation quiet.
-
Wiring: Connect the wires according to your photo. Use proper terminals or soldering for a secure connection.
Step 4: Testing the System
-
Perform a "prime" test by running the pump briefly to ensure it picks up fluid/air.
-
Inspect all joints for leaks during the first 5 minutes of operation.
Common Mistakes to Avoid
-
Reversed Polarity: Connecting wires backward may damage brushless DC motors.
-
Dry Running: Do not run the pump without fluid for long periods unless it is rated for dry running.
-
Over-tightening: Tighten fittings firmly, but do not crack the plastic pump housing.
How to Extend Your Pump’s Lifespan
-
Install an In-line Filter: A 50-100 mesh filter prevents debris from damaging the internal valves.
-
Heat Management: Ensure the installation area has enough ventilation to prevent the motor from overheating.
Need Professional Support?
If you are unsure which model fits your application, Pinmotor’s engineers are here to help.
-
Browse Our Catalog: [View High-Performance Micro Pumps]
-
Contact Engineering: [Get Free Technical Consultation]
Disclaimer: This guide is for informational purposes. Electrical and mechanical repairs should be performed by qualified personnel. Pinmotor is not liable for damages resulting from improper installation.
Recommend products
Read More News
Post time: Dec-14-2025