

Preparation Before Installation: Ensuring Safety and Efficiency
Proper installation of a small water pump requires careful planning and adherence to safety guidelines. This preparation phase is crucial for maximizing the pump's performance and lifespan.
1.Checklist: Pump, Power Supply, and Plumbing Components
Before beginning the physical installation, verify that all necessary components are compatible and ready:
• Pump Verification
Confirm the pump's specifications, particularly the voltage (DC or AC), matches the available power supply.
• Plumbing Preparation
Ensure the inlet and outlet pipe sizes and materials (e.g., flexible tubing, rigid pipe) are compatible with the pump's ports. Gather necessary sealing materials, such as hose clamps, PTFE thread seal tape, and appropriate fittings.
• Power Supply
Confirm the power source voltage and current capacity meet the pump's requirements. Prepare the correct power cable and connectors.
2.Determining the Optimal Installation Location
The location of the pump significantly impacts its efficiency and longevity:
• Stability
The pump must be mounted on a firm, level surface. Use screws or nylon ties to secure the pump base, which helps minimize vibration and operational noise.
• Environmental Considerations
Avoid installing the pump in areas with excessive moisture, high temperatures, or corrosive fumes.
• Suction Line Optimization
Keep the inlet (suction) line as short as possible and minimize the number of bends to reduce suction resistance and improve priming capability.
Critical Step 1: Connecting the Hydraulic System (Plumbing)
The hydraulic connection is vital for preventing air leaks, which are the most common cause of mini pump failure.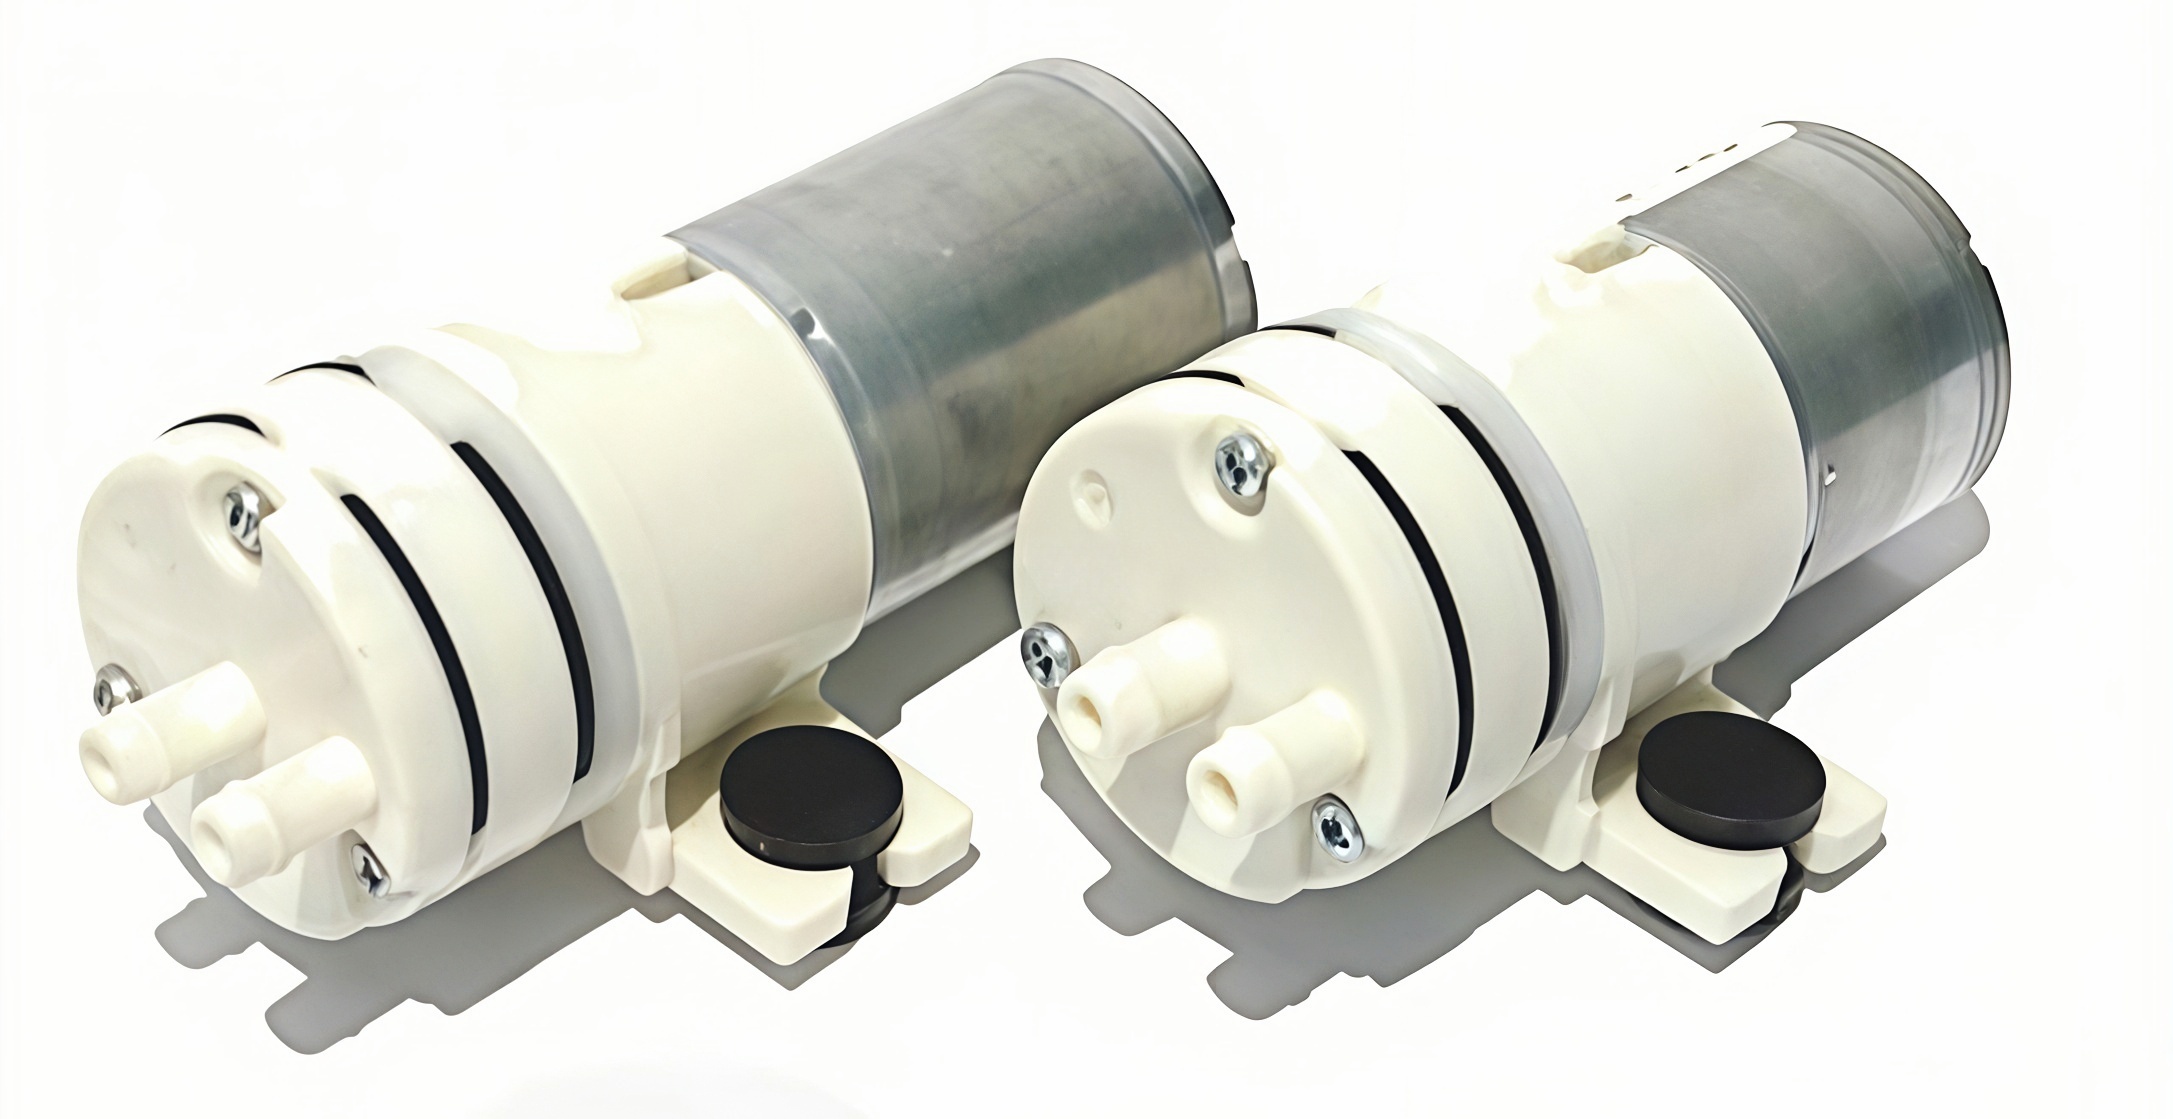
Inlet Line Connection and Sealing
The suction side requires meticulous attention to detail to ensure an airtight seal:
• Install a Filter
Always install a screen filter or foot valve at the end of the inlet pipe (submerged end) to prevent debris from entering and damaging the pump chamber or impeller.
• Sealing
Use hose clamps or appropriate fittings to tightly secure flexible tubing. For threaded connections, apply PTFE thread seal tape (Teflon tape) to the male threads. The connection must be completely airtight to prevent the pump from drawing in air, which leads to cavitation and failure to prime.
• Pipe Slope
If possible, ensure the inlet pipe slopes slightly upward toward the pump to prevent air pockets from forming within the line.
Outlet Line Connection and Auxiliary Components
The discharge side manages the fluid output and system pressure:
• Check Valve (Non-Return Valve)
If the pump is operating against a high head or if backflow must be prevented, install a check valve on the discharge line.
• Pulsation Dampener
For positive displacement pumps (like diaphragm or peristaltic pumps), installing a pulsation dampener or accumulator tank on the outlet side is recommended to smooth the flow and protect system components from pressure spikes.
 Critical Step 2: Connecting the Electrical System (Wiring)
Electrical connection must prioritize safety and correct polarity to prevent damage to the motor.
Wiring a Direct Current (DC) Pump
DC water pumps are common in low-voltage, portable, and battery-powered applications:
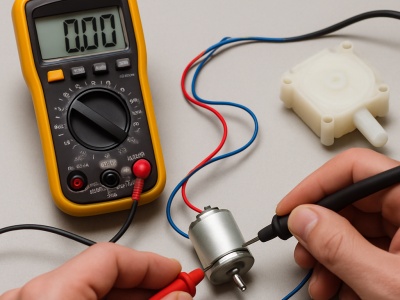
• Polarity Identification
Identify the positive (typically red) and negative (typically black or blue) wires of the pump and the power source.
• Correct Connection
Connect the pump's positive terminal to the power source's positive terminal, and the negative to the negative. Incorrect polarity will cause the pump to run backward (if a brushed motor) or fail to run (if a brushless motor).
• Safety Protection
It is highly recommended to install an in-line fuse or circuit breaker rated for the pump's maximum current draw to protect against electrical overload.
Wiring an Alternating Current (AC) Pump (Safety Warning)
AC pumps typically require higher voltage and are often used in permanent installations. AC wiring should be performed by a qualified electrician.
• Wire Identification
Identify the Live (L), Neutral (N), and Ground (E) wires.
• Grounding Protection
The pump casing must be reliably connected to the earth ground wire (typically green or green/yellow). This is a mandatory safety measure to prevent electrocution in the event of an internal electrical fault.
• Voltage Match
Ensure the supply voltage (e.g., 110V or 220V) exactly matches the pump's rated voltage.
First Start-Up and Operational Testing
After all connections are secured, the pump is ready for its initial test run.
Pre-Start Check and Priming
• Final Inspection
Double-check all plumbing and electrical connections for tightness and correct wiring.
• Priming
For non-self-priming pumps, the pump chamber must be filled with fluid to displace air. This is done by pouring fluid into the priming port or through the discharge line until the pump head is full.
Operational Test and Leak Check
• Short Run
Start the pump briefly (a few seconds) and listen for any abnormal noise or excessive vibration.
• Leak Check
Once the micro water pump is running smoothly, inspect all connection points for any signs of water or air leakage. A small air leak on the suction side will severely degrade performance.
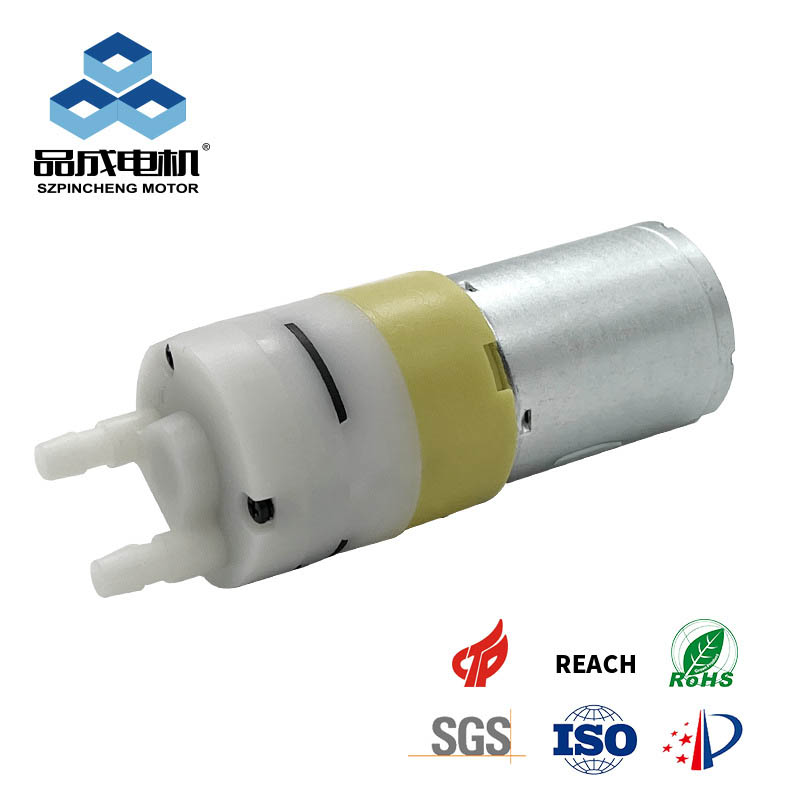
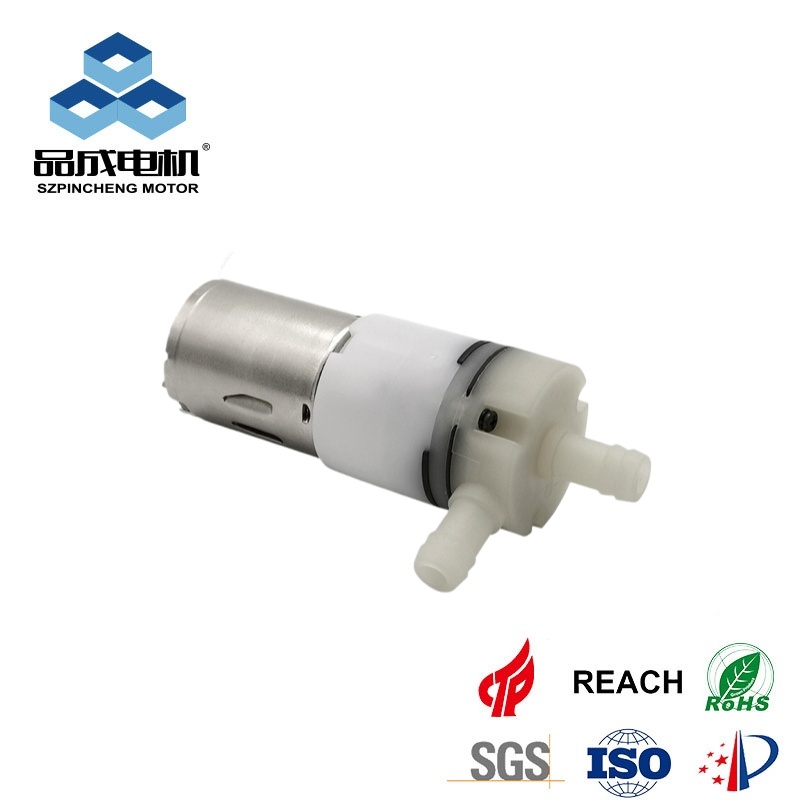
Recommend products
Read More News
Post time: Dec-19-2025