

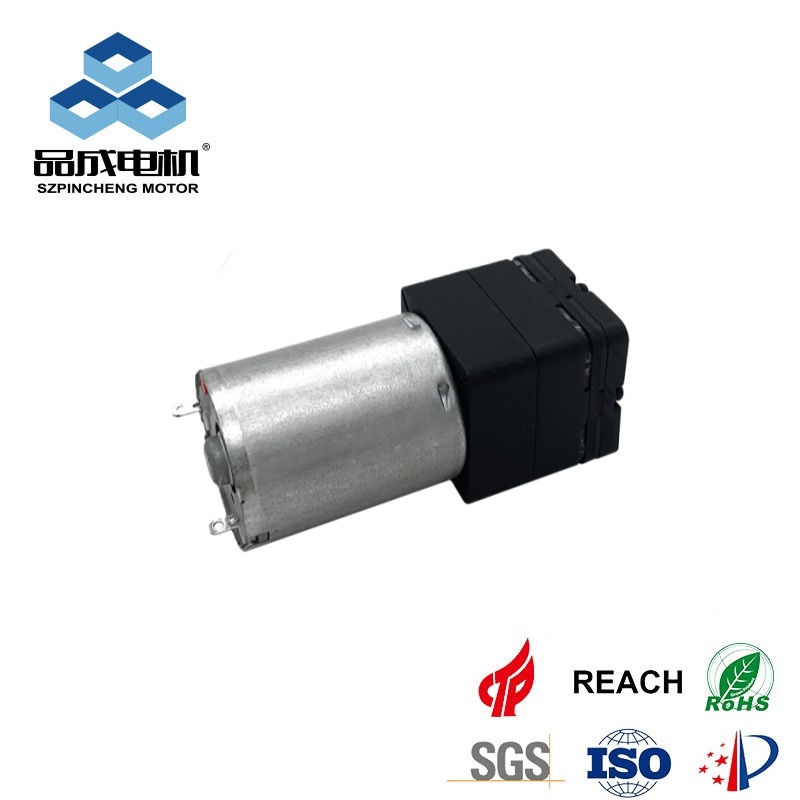
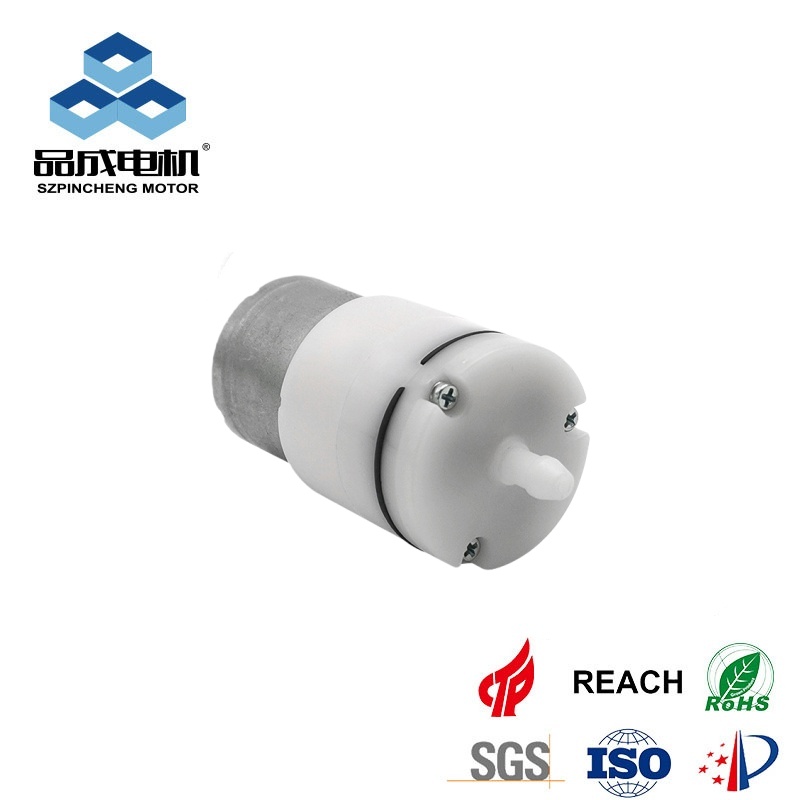
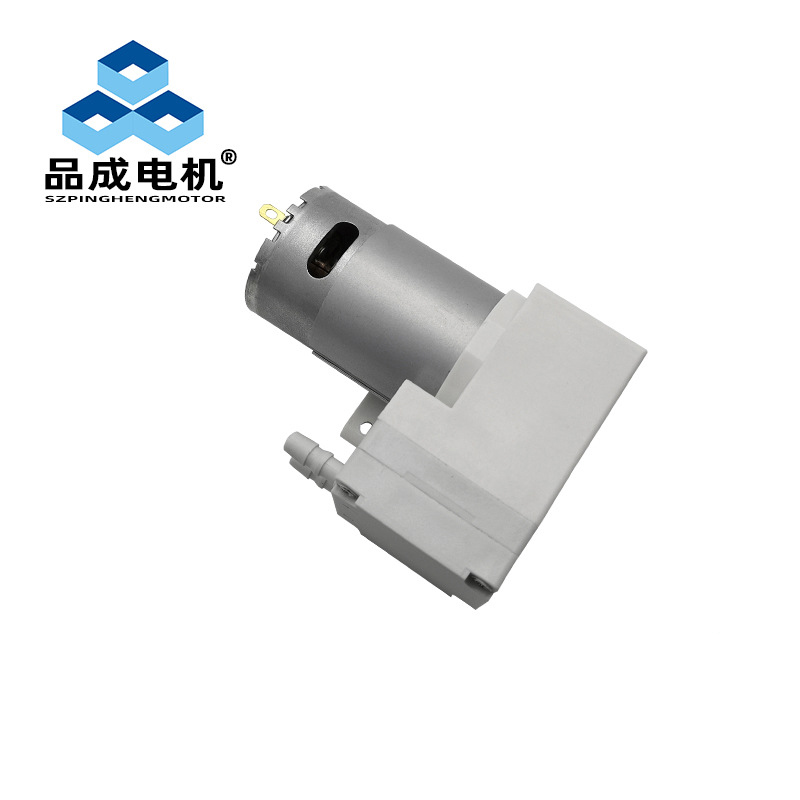
Mini air pump, also called the micro pump, is a kind of multi-functional portable tools, including 12 v mini air pump, mini diaphragm pump, 12 v mini vacuum pump and high pressure micro air pump, mini air compressor pump variants, such as for air mattress, swimming pool toys, balloons, inflatable furniture items such as inflated or deflated.Their compact size makes them ideal for travel, camping or home use, but knowing the right way to operate them (whether it's a basic mini air pump or a specialized high-pressure mini air pump) can ensure efficiency and avoid damage.This guide breaks down the entire process from setup to storage, so you can use your micro air pump (or any of its micro variants such as Micro Diaphragm Air Pump or Micro Air Pump 12V) safely and efficiently.
1.Start with your mini air pump and air
Before you start filling, take time to collect your item and check whether they have any questions.The quick check helps prevent errors, and ensure the successful experience of inflation.
1.1 Gather your supplies
•Your Mini Air pump (battery-powered, electric or manual)
•Appropriate nozzle attachment (most pump including all kinds of valve adapter)
•Inflatable products (e.g. air mattresses or pool toys)
•Battery Pump: New battery (Check the voltage specifications in the user guide)
•Electric models: power socket or portable charger (if usb powered)
1.2 Check the pump and inflatable parts
•Check the air pump: Check the pump body for cracks, loose parts or blocked openings.If the model is electric, test the power switch to make sure it is on.
•Check inflatable items: Check the valves and surfaces of the items for punctures, tears, or wear.If there is an air leak, inflation will be ineffective - repair any damage with a repair kit, which usually includes an inflation product, before starting.
2. Select the appropriate inflation nozzle
The small air pump is equipped with a variety of inflation nozzles to adapt to different types of air valves. Using the wrong air filling port can lead to air leakage and slow expansion. The following is a matching method
2.1 Determine the commonly used valve types
• Boston valves: Valves on air cushions and large air cylinders. It has two parts of design (a large outer valve and a small inner valve).
• Pinch valve: A small, flexible valve in a swimming pool toy or balloon. You "pinch" them to open.
• Screw valve: A threaded valve that requires a rotating connection nozzle (less common).
2.2 Fix the nozzle properly
• Select a nozzle suitable for the inflation valve. If it's too loose, try different sizes.
Push or screw the nozzle into or into the valve until it is tightened. For Boston valves, first remove the inner cover, and then insert the nozzle into the external valve.
• Make sure there are no gaps - if there is a leak during pumping, simply read the nozzle or switch to a more suitable one.
3. Give your items inflatable (step by step)
The inflating process differs slightly depending on the type of pump (manual, battery powered, or electric), but the core steps are similar.
3.1 manual mini air pump
• Hold the nozzle in place by holding the pump with one hand and the cylinder with the other.
• Press the handle of the pump (or squeeze the bulb, for a bulb pump) to force air into the project.
• Pull the handle upwards (or release the bulb) to draw in more air - repeat this process until the air is firmly inflated, but do not overstretch.
• Once the item holds its shape and doesn't feel soft when pressed, stop pumping.Excessive inflation can let a person cry.
3.2 battery or electric mini air pump
• Plug in a new battery (battery powered) or plug the pump into a power source (electric /USB models).
•Turn on the pump - most have an "inflate" mode (check the label; Some also have a "deflate" mode for later use).
• pump is running, the nozzle is fixed on the valve.Hold the inflatable bottle firmly to prevent the nozzle from popping out.
• Monitor inflation: Turn off the pump every 30 seconds to check for tightening.The pump inflates quickly, so avoid leaving it unattended.
4. Release air (if necessary)
Micro pump discharge function normally, convenience store, to save time.Here's how to use:
4.1 Preparation for deflating
• Fully open the air valve on the inflatable toy (remove the valve cover or open the valve latch as needed).
• For the air pump with deflating function, please switch to "deflating" mode.If your air pump does not have this function, reverse the nozzle (some nozzles have an "air inlet" side), or press directly on the inflatator to squeeze the air out.
4.2 Efficient Ventilation
• Connect the nozzle to the air valve (same as with inflation, but in exhaust mode).
• open air pump - will be pulled out.
• To release air faster, press down on the inflatable toy to expel any remaining air.During the venting process, tightly fold or roll the toy to vent any remaining air.
After the exhaust, remove the nozzle, close the valve, to prevent dust into the storage process.
5. Keep your mini air pump working and maintain your skills
Proper maintenance can extend the service life of the micro air pump. Please follow the following suggestions
5.1 Washing pump and nozzle
• Wipe the pump body with a damp cloth after use to remove dirt or moisture.
• Rinse them with a warm water nozzle (if they get dirty) and dry them thoroughly to prevent mildew.
• For electric pumps, do not let water touch the power cord or outlet.
5.2 Store the pump properly
• Pumps and nozzles should be kept in a dry, cool place (e.g. storage bag) to avoid rust or damage.
• If the battery-powered pump has not been used for more than a month, remove the battery (to prevent battery leakage).
• Tie the wires neatly to avoid tangles or fraying.
5.3 Frequently Asked Questions Handling
• Pump won't turn on: Check the battery (replace it if it's dead) or power connection (make sure the power cord is plugged in tightly).
• Air leakage when inflating: reinstall the nozzle or replace it with a more suitable nozzle; Check if there are any holes in the aerator.
• Slowly inflate: Clean the pump vents (clogged vents can reduce airflow) or replace old batteries.
6. Safety Precautions
• Avoid overaeration: Overaeration can cause cracks, especially in hot weather (air expands at high temperatures).
• Keep away from water: Do not use near pools or damp surfaces to avoid electric shock.
•Do not use damaged pumps: If the pump body is cracked or the pump rope is worn, stop using it and have it repaired or replaced.
• Keep out of reach of children: Small nozzles pose a choking hazard. If not used properly, the pump can cause injury.
you like also all
Read More News
Post time: Nov-03-2025