

Diaphragm pumps are the workhorses of many fluid delivery systems and are favored for their versatility, high reliability, and ability to handle a wide range of media, from clean water to aggressive chemicals.However, as with any precision equipment, they also need regular maintenance to ensure the best performance and prolong service life.With the passage of time, the residue, mineral deposit or chemicals accumulate will plug valves, limit traffic, and ultimately lead to pump failure.This article provides a comprehensive and easy to understand guide, introduce how to properly clean the diaphragm pump, in order to ensure that your equipment always stay reliable and affordable.
The Critical Importance of Diaphragm Pump Maintenance
Regular cleaning is not only to restore the traffic, but also a vital prevention measures.Contaminated pumps can have the following problems:
• Flow and pressure drop: clogged inlet and outlet valves prevent pumps from reaching their rated flow and pressure, resulting in inefficient systems.
• Premature wear: Sediment can increase friction between diaphragms and valves, accelerating wear of internal components.
• Contamination risk: In applications such as food processing or medical sampling, residues from previous cycles can contaminate the current medium and pose a serious risk.By means of the implementation of clean simple program, you can significantly extend the service life of the pump, and maintain the integrity of the fluid system.
1: Safety and Preparation
Before starting any cleaning procedures, security must be a key consideration.
Disconnect Power
Disconnect the water pump from the power supply first.For 12v miniature water pump, this means that the disconnect the battery or power supply cord.
Depressurize the System
If the pump is part of the pressurized system, before the disconnect any line, make sure all pressure has been released unharmed.
Identify Media
Determine what liquid the pump last used.This will determine the right cleaner and necessary personal protective equipment (PPE), such as gloves and goggles.
2: Simple Flushing (Routine Cleaning)
For conveying relatively clean fluid (water or dilute solution) pump, simply rinse usually is enough.
Prepare Cleaning Solution
Use a cleaner that matches the pump body material and the residue to be removed.Citric acid solution for mineral deposits, diluted vinegar or the effect is very good.For general residues, clear water or a mild detergent is usually sufficient.
Run the Pump
Place the inlet pipe into the cleaning solution and the outlet pipe into the waste liquid container.Run the pump for a few minutes, make cleaning fluid in the pump head and valve cycle.
Rinse Thoroughly
After circulating the cleaning liquid, use clean water and run the pump again for the same time.This step is essential to remove all residue of the cleaner that could otherwise damage the pump or contamine the next batch of media.
Dry Run
After rinsing, run the pump dry for a few seconds to expel any remaining liquid from the pump head.
3: Deep Cleaning (Disassembly and Inspection)
If simple flushing does not restore performance, a deeper clean involving partial disassembly may be necessary.
Access the Pump Head
Carefully remove the screws or clamps holding the pump head to the motor housing.Pay attention to the position of all parts, especially the diaphragm and valves, as they must be reassembled in the correct direction.
Inspect Valves
Check valves (usually small rubber or plastic parts) are the most common plugging point.Gently remove, and check for debris or mineral accumulation.
Clean Components
Soak the pump head assembly (excluding the motor housing) in a suitable cleaning solution.Use a SOFT briSTLED BRUSH, such as a toothbrush, to gently scrub the seat and interior of the pump head for stubborn deposits.Do not use can scratch on the surface of the seal sharp tool.
Inspect Diaphragm
The diaphragm was checked for signs of cracking, tearing, or hardening.If the diaphragm is damaged, must be replaced to prevent leakage and keep the performance.
4: Reassembly and Testing
Reassemble the need accurate operation, to ensure good seal and normal function into full play.
Reassemble Valves
Carefully place the check valves back into their correct positions. Ensure they are seated flush and facing the correct direction (they are directional).
Secure Pump Head
Place the diaphragm and pump head back onto the motor housing, ensuring the diaphragm is properly aligned. Tighten the screws evenly and gradually in a cross-pattern to ensure uniform pressure and a proper seal. Over-tightening can damage the plastic housing.
Test Run
Connect the pump to its power source and run it with clean water. Check for leaks at the pump head and connections. If the pump runs smoothly and achieves the expected flow and pressure, the cleaning is complete.
Conclusion: The Pincheng Advantage in Longevity
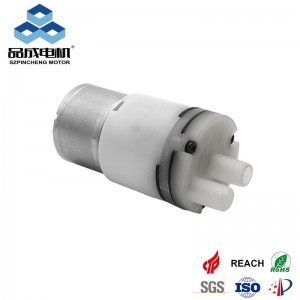
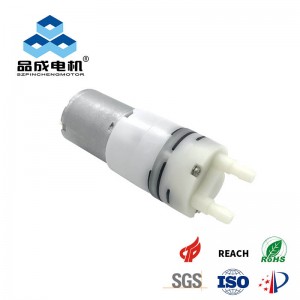
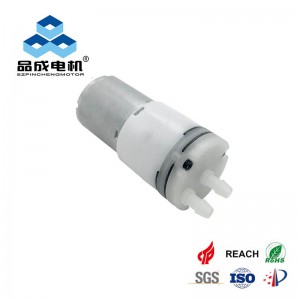
Proper maintenance is key to extending the service life of any fluid handling equipment.Learn how to clean the diaphragm pump, can ensure that your equipment is always keep stable and reliable performance.In the design of the water pump, Pincheng Motor fully considers the convenience of maintenance, and adopts high-quality chemical corrosion resistant materials to simplify the cleaning process and prolong the service life of the equipment.Whether you need a micro water pump for precision applications or a 12V miniature water pump for portable systems, choosing products from a quality manufacturer means choosing products that last and are easy to maintain.Pincheng Motor provides reliable diaphragm pump solutions to ensure smooth operation of your system.
you like also all
Read More News
Post time: Nov-25-2025