

If you need a compact, reliable, and quiet solution for moving air, a micro diaphragm air pump is likely the perfect component. These tiny workhorses are essential in everything from medical devices to aquariums. This guide explains what they are and provides a practical steps on how to use a micro air pump safely and effectively.
What is a Micro Diaphragm Air Pump?
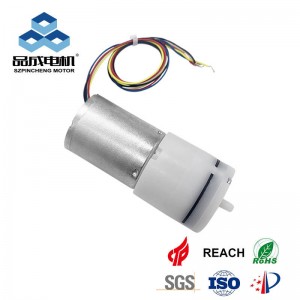
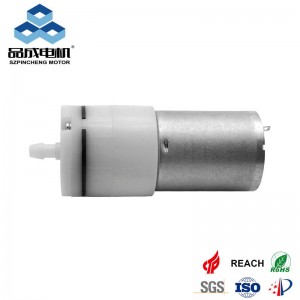
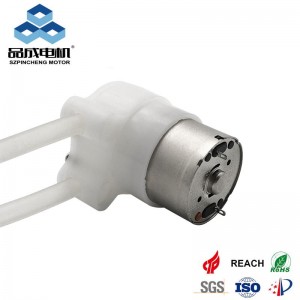
A micro diaphragm air pump is a small positive displacement pump that uses an oscillating rubber or thermoplastic diaphragm, driven by an electric motor, to push air. The diaphragm's motion creates a pressure difference, drawing air in through an inlet valve and expelling it through an outlet. Their key advantages include:
-
Compact and Lightweight: Ideal for portable applications.
-
Oil-Free and Contamination-Free: Safe for medical and aquatics use.
-
Quiet Operation: Generates minimal noise and vibration.
-
Ability to Run Dry: Can operate without damage if the air flow is blocked.
How to Use a Micro Diaphragm Air Pump: A Step-by-Step Guide
Using your pump correctly ensures optimal performance and longevity. Follow these steps:
1. Choose the Right Power Source
-
Most micro air pumps are low-voltage DC (e.g., 6V, 12V, 24V). Always match the pump's voltage rating with your power supply (battery, AC adapter, USB).
-
Polarity Matters: For DC pumps, connect the positive (+) wire to the positive terminal and the negative (-) wire to the negative terminal. Reversing polarity can damage the pump.
2. Connect Tubing Securely
-
Use flexible, airtight tubing that fits snugly onto the pump’s outlet nozzle. Silicone or vinyl tubing is commonly used.
-
For the inlet (if used), ensure a clean air filter is attached to prevent dust from entering and damaging the diaphragm.
3. Consider Air Flow Direction
-
Standard pumps push air out of the outlet. If you need vacuum/suction, connect your system to the pump’s inlet port. Some pumps are better optimized for pressure, others for vacuum.
4. Manage Pressure and Flow
-
Diaphragm pumps are designed for low pressure and high flow. Do not restrict the outlet completely for long periods, as this can cause overheating despite their dry-run capability.
-
Use a flow control valve in-line with the tubing to fine-tune the air output for your application.
5. Secure the Pump
-
Mount the pump in a stable position using brackets or vibration-damping feet. This reduces noise and prevents it from moving during operation.
6. Final Check and Power On
-
Double-check all connections, ensure the air path is clear, and then apply power. You should feel a pulsating flow of air at the outlet.
Common Applications and Usage Tips
-
Aquarium Bubbling: Connect air stone to the outlet via tubing. The finer the bubbles from the stone, the better the oxygen transfer.
-
Medical Devices: Used in portable ventilators and pneumatic systems. Ensure all components are sterile.
-
DIY Projects & Automation: Perfect for powering small pneumatic actuators or sensors.
-
Cooling & Ventilation: Use to circulate air in tight electronics enclosures.
Pro Tip: If your pump seems weak or stops working, check for blockages in the tubing or a clogged air filter first. These are the most common issues.
Troubleshooting Common Problems
-
No Airflow: Check power connections, polarity, and for tubing kinks.
-
Low Airflow: Clean or replace the inlet filter. Check for leaks in tubing connections.
-
Loud Noise/Vibration: Secure the pump firmly to a surface. Noise can be amplified if it’s vibrating against a hard object.
-
Overheating: Ensure the pump is not overly restricted and is operating within its rated duty cycle.
Conclusion
Understanding how to use a micro air pump unlocks its potential in countless projects. Whether you're aerating a fish tank, building a prototype, or creating a medical device, the micro diaphragm air pump offers a perfect blend of simplicity, reliability, and efficiency. By following these basic steps for power, tubing, and mounting, you can ensure your pump operates effectively for years to come.
you like also all
Post time: Sep-08-2025