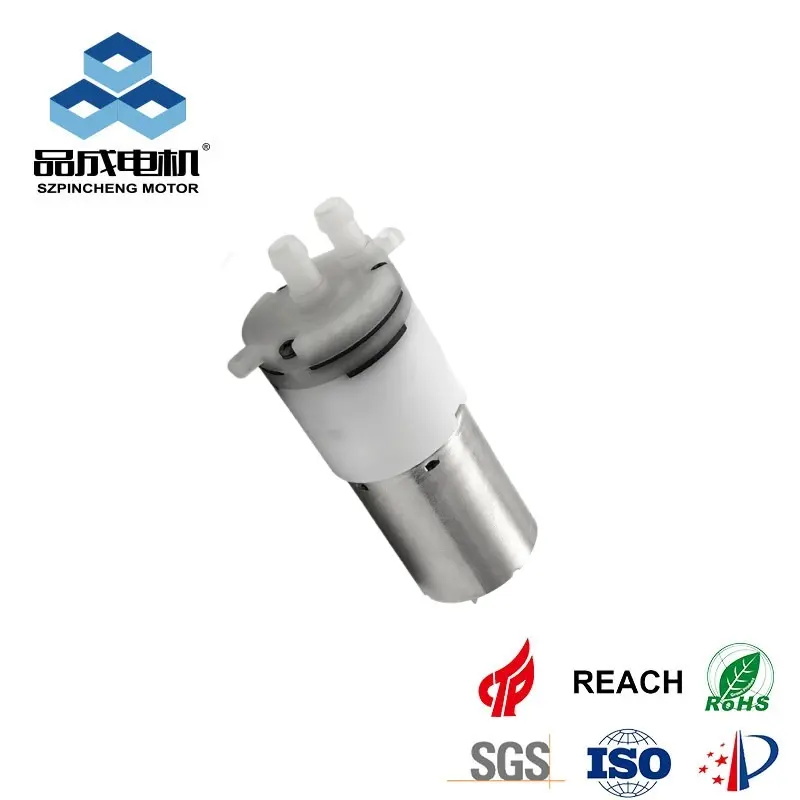
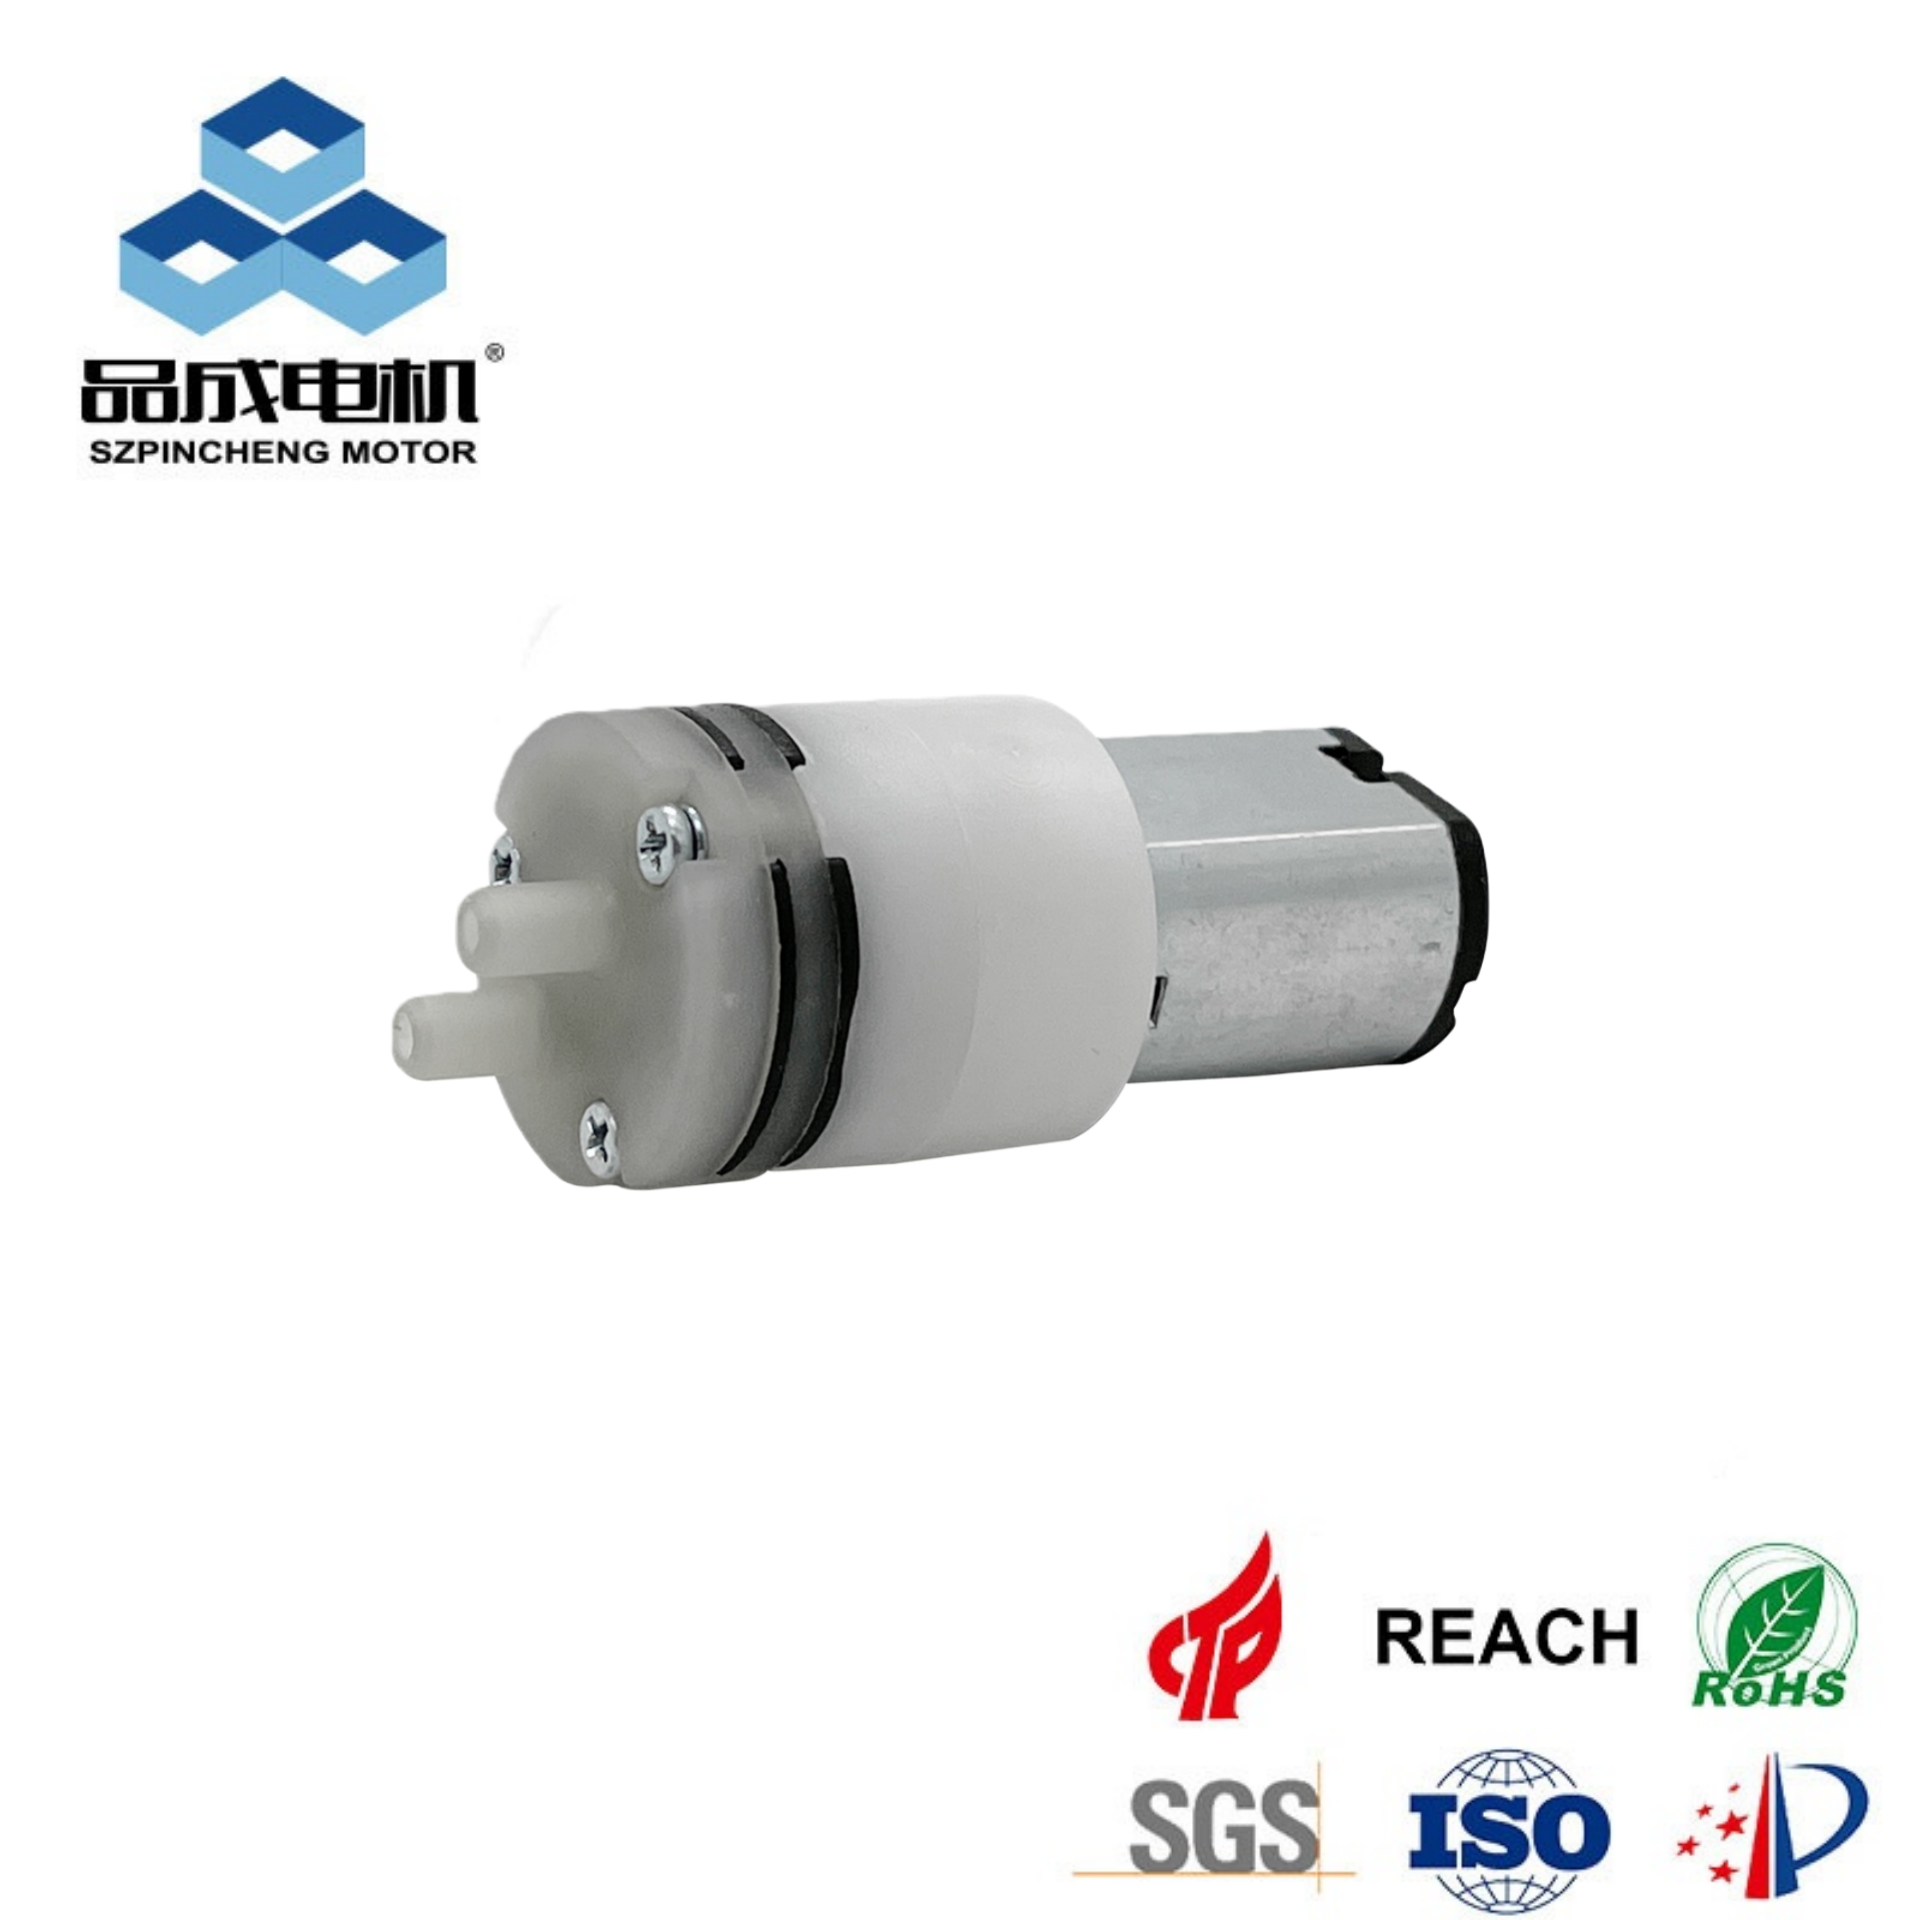
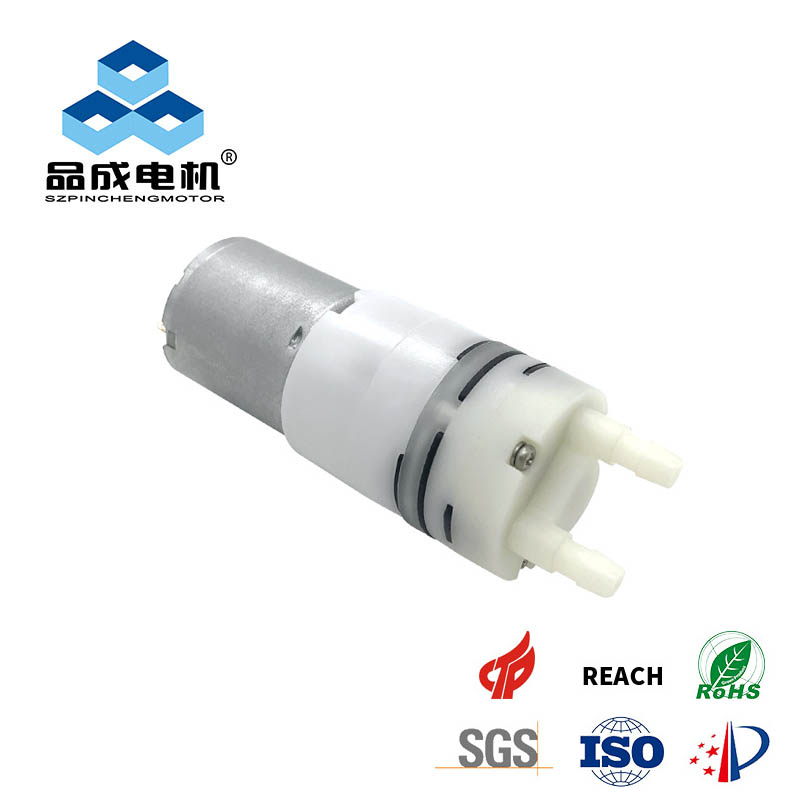
The world of electronics, DIY projects, and specialized machinery is powered by components that are often small yet incredibly mighty. Among these, the micro water pump stands out as a versatile and essential tool. Whether you are an engineer designing a compact cooling system, a hobbyist building a miniature fountain, or a product developer creating a new home appliance, understanding how to properly use a 12v micro water pump or a lower voltage micro water pump 3v is crucial for success. This guide will walk you through the entire process of setting up and operating a micro electric water pump, ensuring your project runs smoothly and efficiently. From understanding the basics of a micro water pump dc to troubleshooting common issues, we will cover everything you need to know to get started.
Chapter 1: Understanding Your Micro Water Pump
Before you can use your pump, it’s important to understand what kind you have and how it works. Micro water pumps come in several varieties, each suited for different tasks. The most common types you'll encounter are centrifugal, diaphragm, and piston pumps.
1、Centrifugal Pumps: These pumps use a rotating impeller to move water. The impeller creates a centrifugal force that pushes water from the inlet to the outlet. They are generally simple, durable, and excellent for applications requiring a continuous, smooth flow. However, they are typically not self-priming, meaning they need to be filled with water before they can operate.
2、Diaphragm Pumps: A micro diaphragm water pump uses a flexible diaphragm that moves back and forth. This motion changes the volume of the pump chamber, drawing water in and pushing it out through a set of one-way valves. A key advantage of diaphragm pumps is their ability to self-prime, meaning they can lift water from a lower level without needing to be manually filled first. They can also run dry for short periods without damage and are excellent for applications requiring consistent pressure.
3、Piston Pumps: These pumps operate using a reciprocating piston moving within a cylinder. As the piston moves back, it draws water into the cylinder; as it moves forward, it forces the water out. Piston pumps, including the micro piston water pump, are known for their ability to generate high pressure and deliver a precise, metered flow. This makes them ideal for applications like high-pressure cleaning systems or precise chemical dosing.
Beyond the mechanism, you must also consider the pump's specifications, which are typically found on the product label or datasheet:
- Voltage: This indicates the required power supply. Common types include 12V and 3V DC pumps. Using the wrong voltage can damage the pump or cause it to perform poorly.
- Flow Rate: Measured in liters per hour (L/H) or gallons per minute (GPM), this tells you how much water the pump can move in a given time.
- Head Height (or Lift): This is the maximum vertical distance the pump can push water. If you need to pump water uphill, you must choose a pump with an adequate head rating.
- Pressure: Measured in PSI or bar, this indicates the force the pump can exert on the water.
Chapter 2: Safety First – Essential Precautions
Working with water and electricity requires careful attention to safety. Always follow these precautions:
1、Isolate Power: Before making any connections or adjustments, ensure the power supply is completely disconnected. This prevents any risk of electric shock or accidental activation of the pump.
2、 Check for Leaks: Water and electricity are a dangerous combination. Double-check all tubing connections to ensure they are secure and watertight before turning on the power.
3、 Use the Correct Power Supply: Always match the voltage and current rating of your power supply to the pump's specifications. An over-voltage can burn out the motor, while an under-voltage will result in poor performance.
4、Ensure Proper Ventilation: Pump motors can generate heat during operation. Ensure there is adequate airflow around the pump to prevent overheating, especially during prolonged use.
Chapter 3: Step-by-Step Installation and Setup Guide
With a clear understanding of your pump and safety measures in mind, you can proceed with the installation. Follow these steps for a successful setup.
Step 1: Gather Your Materials
Before you begin, collect all the necessary components:
- The micro water pump
- A compatible DC power supply (e.g., a battery pack or an AC-to-DC adapter)
- Flexible tubing for the inlet and outlet (ensure the inner diameter matches the pump's nozzle size)
- A reservoir or container for your water source
- Small clamps or zip ties to secure the tubing (optional but recommended)
- A container to catch the output water
Step 2: Connect the Tubing
Identify the inlet and outlet ports on your pump. These are often marked with arrows indicating the direction of flow. If not, the inlet is typically the central port on a centrifugal pump, while the outlet is on the side.
1、 Cut your tubing to the desired length for both the inlet and outlet sides.
2、Firmly push one end of the inlet tubing onto the pump's inlet nozzle.
3、 Push one end of the outlet tubing onto the pump's outlet nozzle.
4、For a more secure connection, especially in systems with higher pressure, use a small hose clamp or zip tie to fasten the tubing to each nozzle. This will prevent leaks and ensure the tubing doesn't slip off during operation.
Step 3: Position and Prime the Pump
The placement of your pump is critical. If your pump is submersible, you can place it directly into your water reservoir. If it is not submersible, it must be kept dry and positioned outside the reservoir.
- Priming: As mentioned earlier, most small centrifugal pumps are not self-priming. This means you need to ensure the pump head is filled with water before you turn it on. You can do this by either submerging the pump and inlet tube completely or by positioning the pump below the water level of the reservoir, allowing gravity to feed water into the pump. Diaphragm and piston pumps are typically self-priming and can be positioned above the water level, as they have the ability to draw the water upwards.
Step 4: Connect the Power Supply
Connecting the power is the final step before testing. Most micro water pump dc units have two wires: a red wire for positive (+) and a black wire for negative (-). Reversing the polarity can damage the motor or cause it to run in reverse (if possible), so always double-check your connections.
1、 Connect the red wire from the pump to the positive terminal of your DC power supply.
2、 Connect the black wire from the pump to the negative terminal of your power supply.
3、 Ensure these connections are secure and insulated (using wire nuts or electrical tape) to prevent short circuits.
Step 5: Test Your Setup
With everything connected, it's time for a test run.
1、Place the free end of the inlet tubing into your water reservoir.
2、Place the free end of the outlet tubing into a separate container to catch the water.
3、Turn on the power supply. The pump should start running, and you should see water flowing from the outlet tube within a few seconds.
4、If the pump makes noise but no water flows, turn it off immediately. It likely has an air bubble trapped inside (airlock) or has not been properly primed. Try re-priming the pump and test again.
Chapter 4: Maintenance and Troubleshooting
To ensure a long life for your pump, regular maintenance is key. Here are some common issues and how to solve them:
Issue: Pump is not running. The possible cause is no power, a loose connection, or incorrect polarity. The solution is to check all wire connections, ensure the power supply is on, and verify the polarity (+ and -) is correct.
Issue: Low Flow or Pressure. The possible cause is kinked tubing, a clogged inlet, or air in the system. The solution is to straighten all tubing, clean any debris from the inlet filter (if present), and re-prime the pump to remove air. This is especially important for maintaining good micro water pump pressure. If you are experiencing a low flow micro water pump issue, these steps are the first line of defense.
Issue: Pump is too noisy. The possible cause is vibration against a hard surface or internal debris. The solution is to place the pump on a soft pad (like foam or rubber) to dampen vibrations. If the noise persists, disconnect the pump, open the pump head (if possible), and inspect for any small particles that may have gotten inside.
Conclusion: Choosing Quality for Lasting Performance
Successfully using a small water pump is a straightforward process when you follow these fundamental steps. By understanding your pump's design, taking the proper safety precautions, and following a methodical installation process, you can integrate a fluid system into nearly any project with confidence. Whether your application calls for a 3v micro water pump for a low-power device or a robust micro 12 volt dc water pump for a more demanding task, the principles remain the same. The reliability of your project ultimately depends on the quality of its components. Opting for a high quality micro water pump from a trusted manufacturer like Pincheng Motor ensures that you not only get a component that performs well out of the box but one that will continue to operate reliably for years to come. By investing in quality, you guarantee that your focus can remain on innovation, not on troubleshooting faulty parts.
you like also all
Post time: Nov-08-2025


