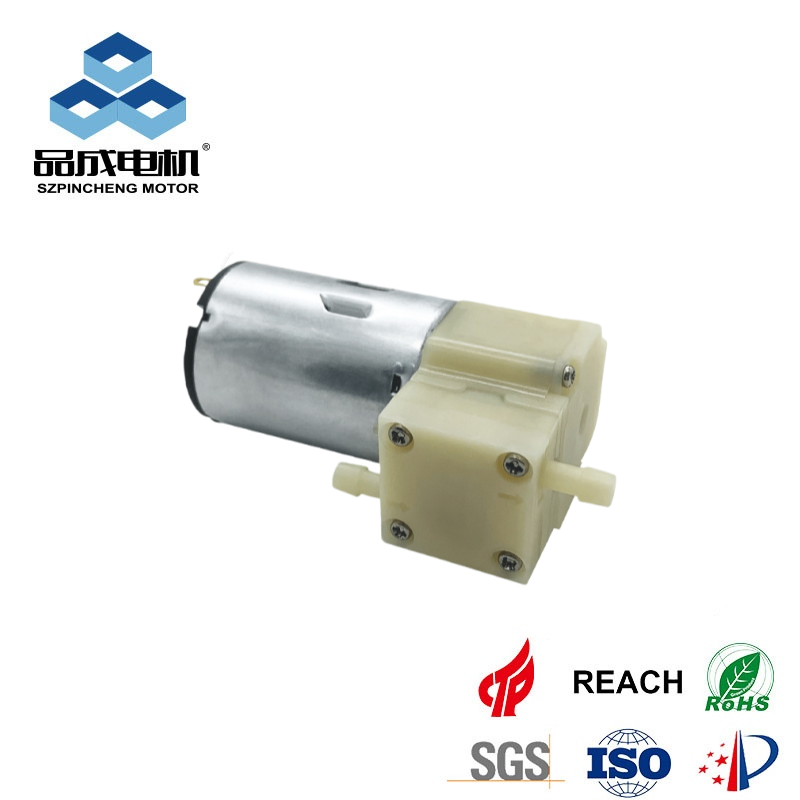
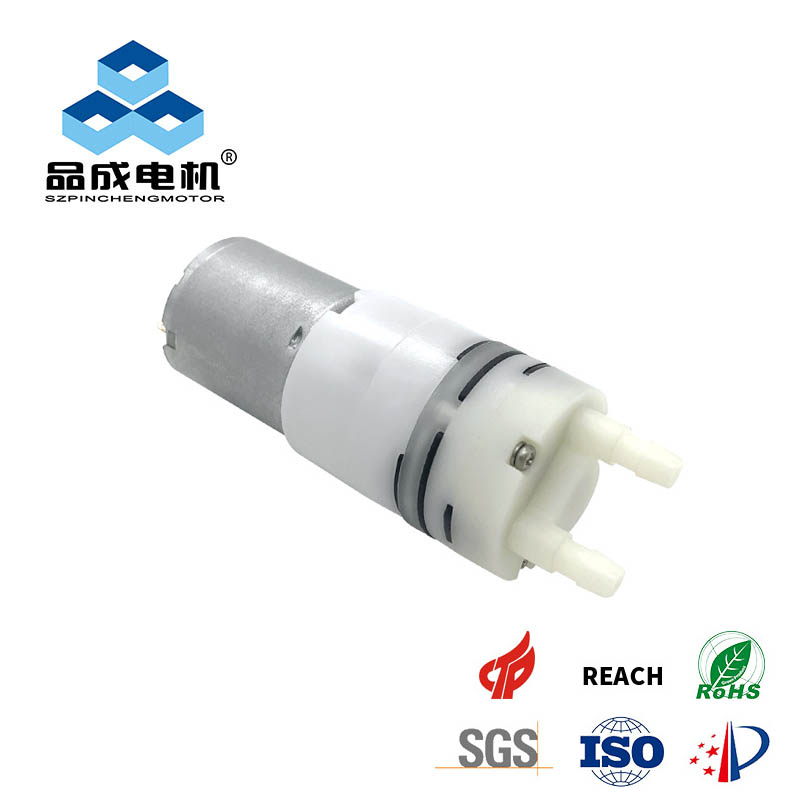
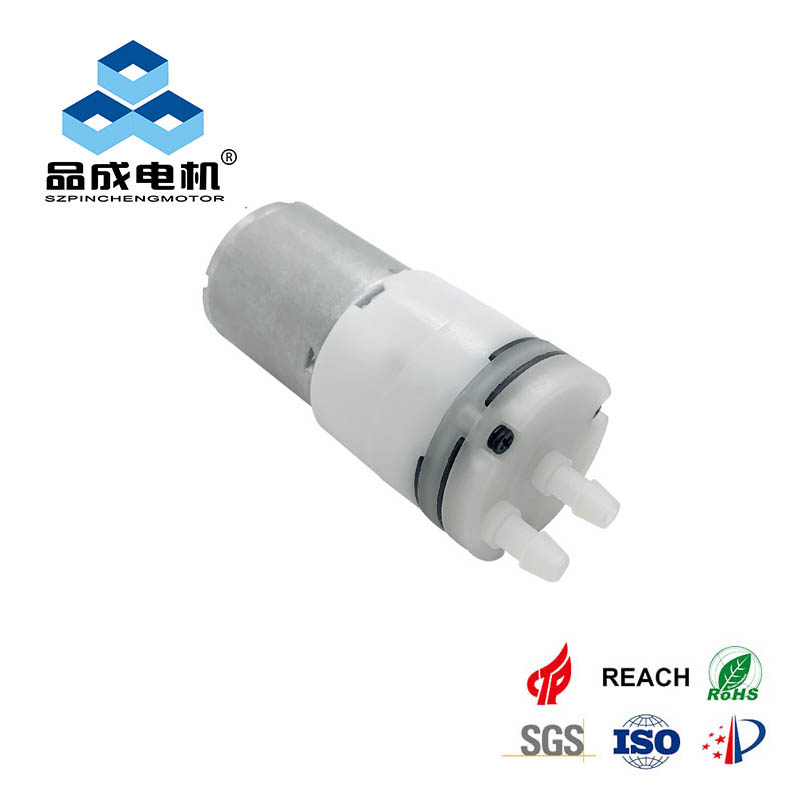
The core advantage of this build is its incredible accessibility. There are no specialized parts; the required materials are ubiquitous and inexpensive. If you've ever wondered about the small water pump price for a hobby project and found it prohibitive, this DIY approach offers a cost-effective alternative. Before we begin, it's crucial to note that the prototype uses a basic, low-power motor. If your application requires more robust performance, you can easily scale it up by using a more powerful 12v dc motor water pump as the heart of your system.
This comprehensive guide will walk you through every step of creating your own functional small water pump, explaining the science behind each stage to ensure you not only build it but also understand how it works.
Understanding the Mechanics: How Does a Centrifugal Mini Water Pump Work?
Our DIY project operates on the principles of a centrifugal pump. Here's a simplified breakdown:
1、The Impeller: This is the rotating part (like a water motor small turbine) inside the pump housing.
2、Centrifugal Force: When the motor spins the impeller, the blades push water outward from the center towards the edge of the housing.
3、Pressure Creation: This action creates a region of low pressure at the center (the inlet), which draws more water in, and a region of high pressure at the periphery, which forces the water out through the outlet. This process creates a continuous flow, effectively turning your water motor small assembly into a genuine mini water pressure pump.
Understanding this flow is key to optimizing your design for better efficiency and pressure.
Gathering Your Materials: Sourcing for Your DIY Small Water Pump
The beauty of this project lies in its simplicity. Here is a detailed list of everything you will need
1、Plastic Bottle Caps (Various Sizes): You will need at least 2-3 caps. One will serve as the main pump housing, another as a protective cover, and a third could be repurposed for the impeller.
2、Small DC Motor: This is the engine of your pump. A motor from an old toy or a generic 3-6V DC motor is perfect for a basic build. For a more powerful mini water pressure pump, a 12v dc motor water pump is the ideal upgrade.
3、Material for the Impeller: A stiff plastic from another bottle cap or a plastic card. It must be rigid enough to move water effectively.
4、Electrical Wires: Two insulated wires for connecting the motor to a power source.
5、Power Source: A matching battery pack (e.g., 3V for a small motor, 12V battery for a 12v dc motor water pump).
6、Tubing: A plastic straw or small-diameter vinyl tubing for the water outlet.
7、Waterproof Adhesive: Epoxy or silicone glue is essential for creating watertight seals.
8、Tools: Hobby knife, small saw, sandpaper, ruler, marker, and a drill or heated nail for making holes.
Safety First: Always work carefully with tools and adhesives in a well-ventilated area. Adult supervision is recommended for younger makers.
Step-by-Step Guide to Building Your DIY Mini Water Pump
Step 1: Crafting the High-Performance Impeller
The impeller is the most critical component for performance. A well-balanced impeller is efficient and quiet.
1、Select and Mark: Choose your plastic material and draw a circle with a diameter slightly smaller than your pump housing cap.
2、Precise Cutting: Carefully cut out the circle. If the base is thick, use a small saw. A thick base creates drag and reduces the efficiency of your mini water pump.
3、Shape the Blades: Mark the center and draw 6-8 evenly spaced blades. Curving the blades slightly in the direction of rotation will enhance performance, a key tip for building a better mini water pressure pump.
4、Balance and Smooth: Trim each blade to an identical length and shape. Thoroughly sand all edges. An unbalanced impeller will cause vibrations and get stuck, a common issue in DIY small water pump projects.
Step 2: Preparing the Pump Housing
- 1、Select the Main Housing: Choose a sturdy, wide bottle cap for the main body.
- 2、Measure and Modify: Place your finished impeller inside the cap. It must spin freely. If the cap has internal threads, sand them down completely. A smooth interior is crucial for minimizing friction and maximizing the flow of your water motor small assembly.
Step 3: Installing the Motor with Precision
- 1、Find the Center: Accurately mark the very center of the bottle cap's top. An off-center motor will lead to a wobbly, ineffective impeller.
- 2、Drill the Motor Hole: Drill a hole that is a tight fit for the motor's shaft. A snug fit prevents water leakage.
- 3、Secure the Motor: Apply a generous bead of waterproof epoxy around the hole and push the motor into place. Hold it firm and let it cure completely. This step is non-negotiable for a durable small water pump.
Step 4: Creating the Inlet and Outlet Ports
- 1、Attach the Impeller: Once the motor is secure, slide the impeller onto the shaft. Apply a tiny drop of glue to prevent slipping.
- 2、Create the Outlet: On the side of the cap, directly facing the outer tips of the impeller blades, drill a hole for your tubing.
- 3、Attach the Outlet Tube: Insert the straw or tubing into the hole and seal it meticulously from both the inside and outside with waterproof glue. This outlet is what will channel the pressure from your mini water pressure pump.
Step 5: Wiring and Final Assembly
- 1、Connect the Wires: Solder or twist the wires securely to the motor's terminals. For a 12v dc motor water pump, ensure your wires can handle the current.
- 2、Weatherproof the Electronics: Use a second bottle cap as a protective cover. Drill a hole for the wires, place the cap over the motor, and seal all seams with waterproof glue.
- 3、Final Checks: Before powering on, ensure the impeller spins freely and all seals are watertight.
Testing, Troubleshooting, and Scaling Your Project
Initial Test: Submerge the inlet in water and connect the power. If the motor spins but no water flows, check for air leaks. If it doesn't spin, check your electrical connections.
Common Issues and Solutions:
- 1、No Flow: Likely an air leak. Re-seal all joints.
- 2、Weak Flow: The motor may be underpowered, or the impeller is inefficient. This is where upgrading to a 12v dc motor water pump makes a dramatic difference.
- 3、Vibration: The impeller is unbalanced. Remove and re-balance it.
How to Scale Up for More Power:
The journey from a simple mini water pump to a powerful mini water pressure pump is straightforward.
- 1、Upgrade the Motor: The single most effective upgrade is switching to a 12v dc motor water pump. This will provide significantly higher RPM, resulting in greater pressure and flow rate.
- 2、Larger Components: Use a larger housing and a more professionally designed impeller to handle the increased power.
- 3、Dedicated Inlet: For higher performance, create a dedicated inlet tube aligned with the impeller's center.
Conclusion: From DIY Project to Professional Solution
Building your own small water pump is an incredibly rewarding experience that blends creativity, engineering, and sustainability. It demystifies the technology and allows you to create a custom solution for a fraction of the small water pump price of a commercial unit.
This guide has demonstrated the creation of a basic, home-made pump. However, for applications where reliability, consistent performance, and safety are critical—such as in aquariums, automated irrigation, or cooling systems—a professionally engineered solution is indispensable.
For those who require guaranteed performance, exploring professional mini water pump options is the next logical step. Manufacturers like Pincheng Motor offer a wide range of reliable, ready-to-use products, from basic small water pump models to powerful 12v dc motor water pump units designed for rigorous applications. Whether your project is a hobby or a commercial venture, understanding the DIY process empowers you to make informed decisions when selecting a professional pump for your needs.
you like also all
Read More News
Post time: Oct-20-2025


