

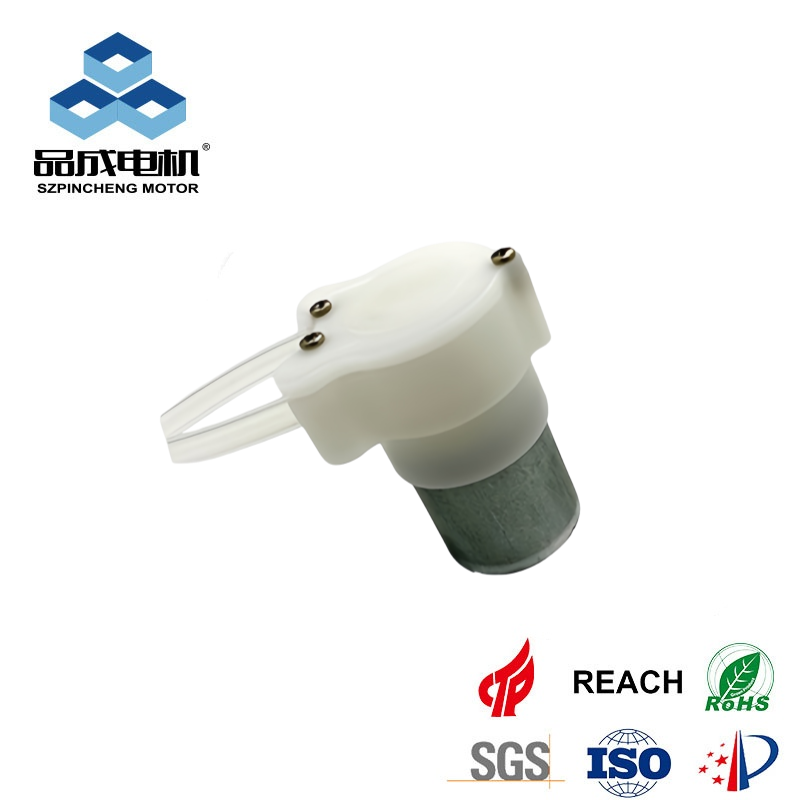
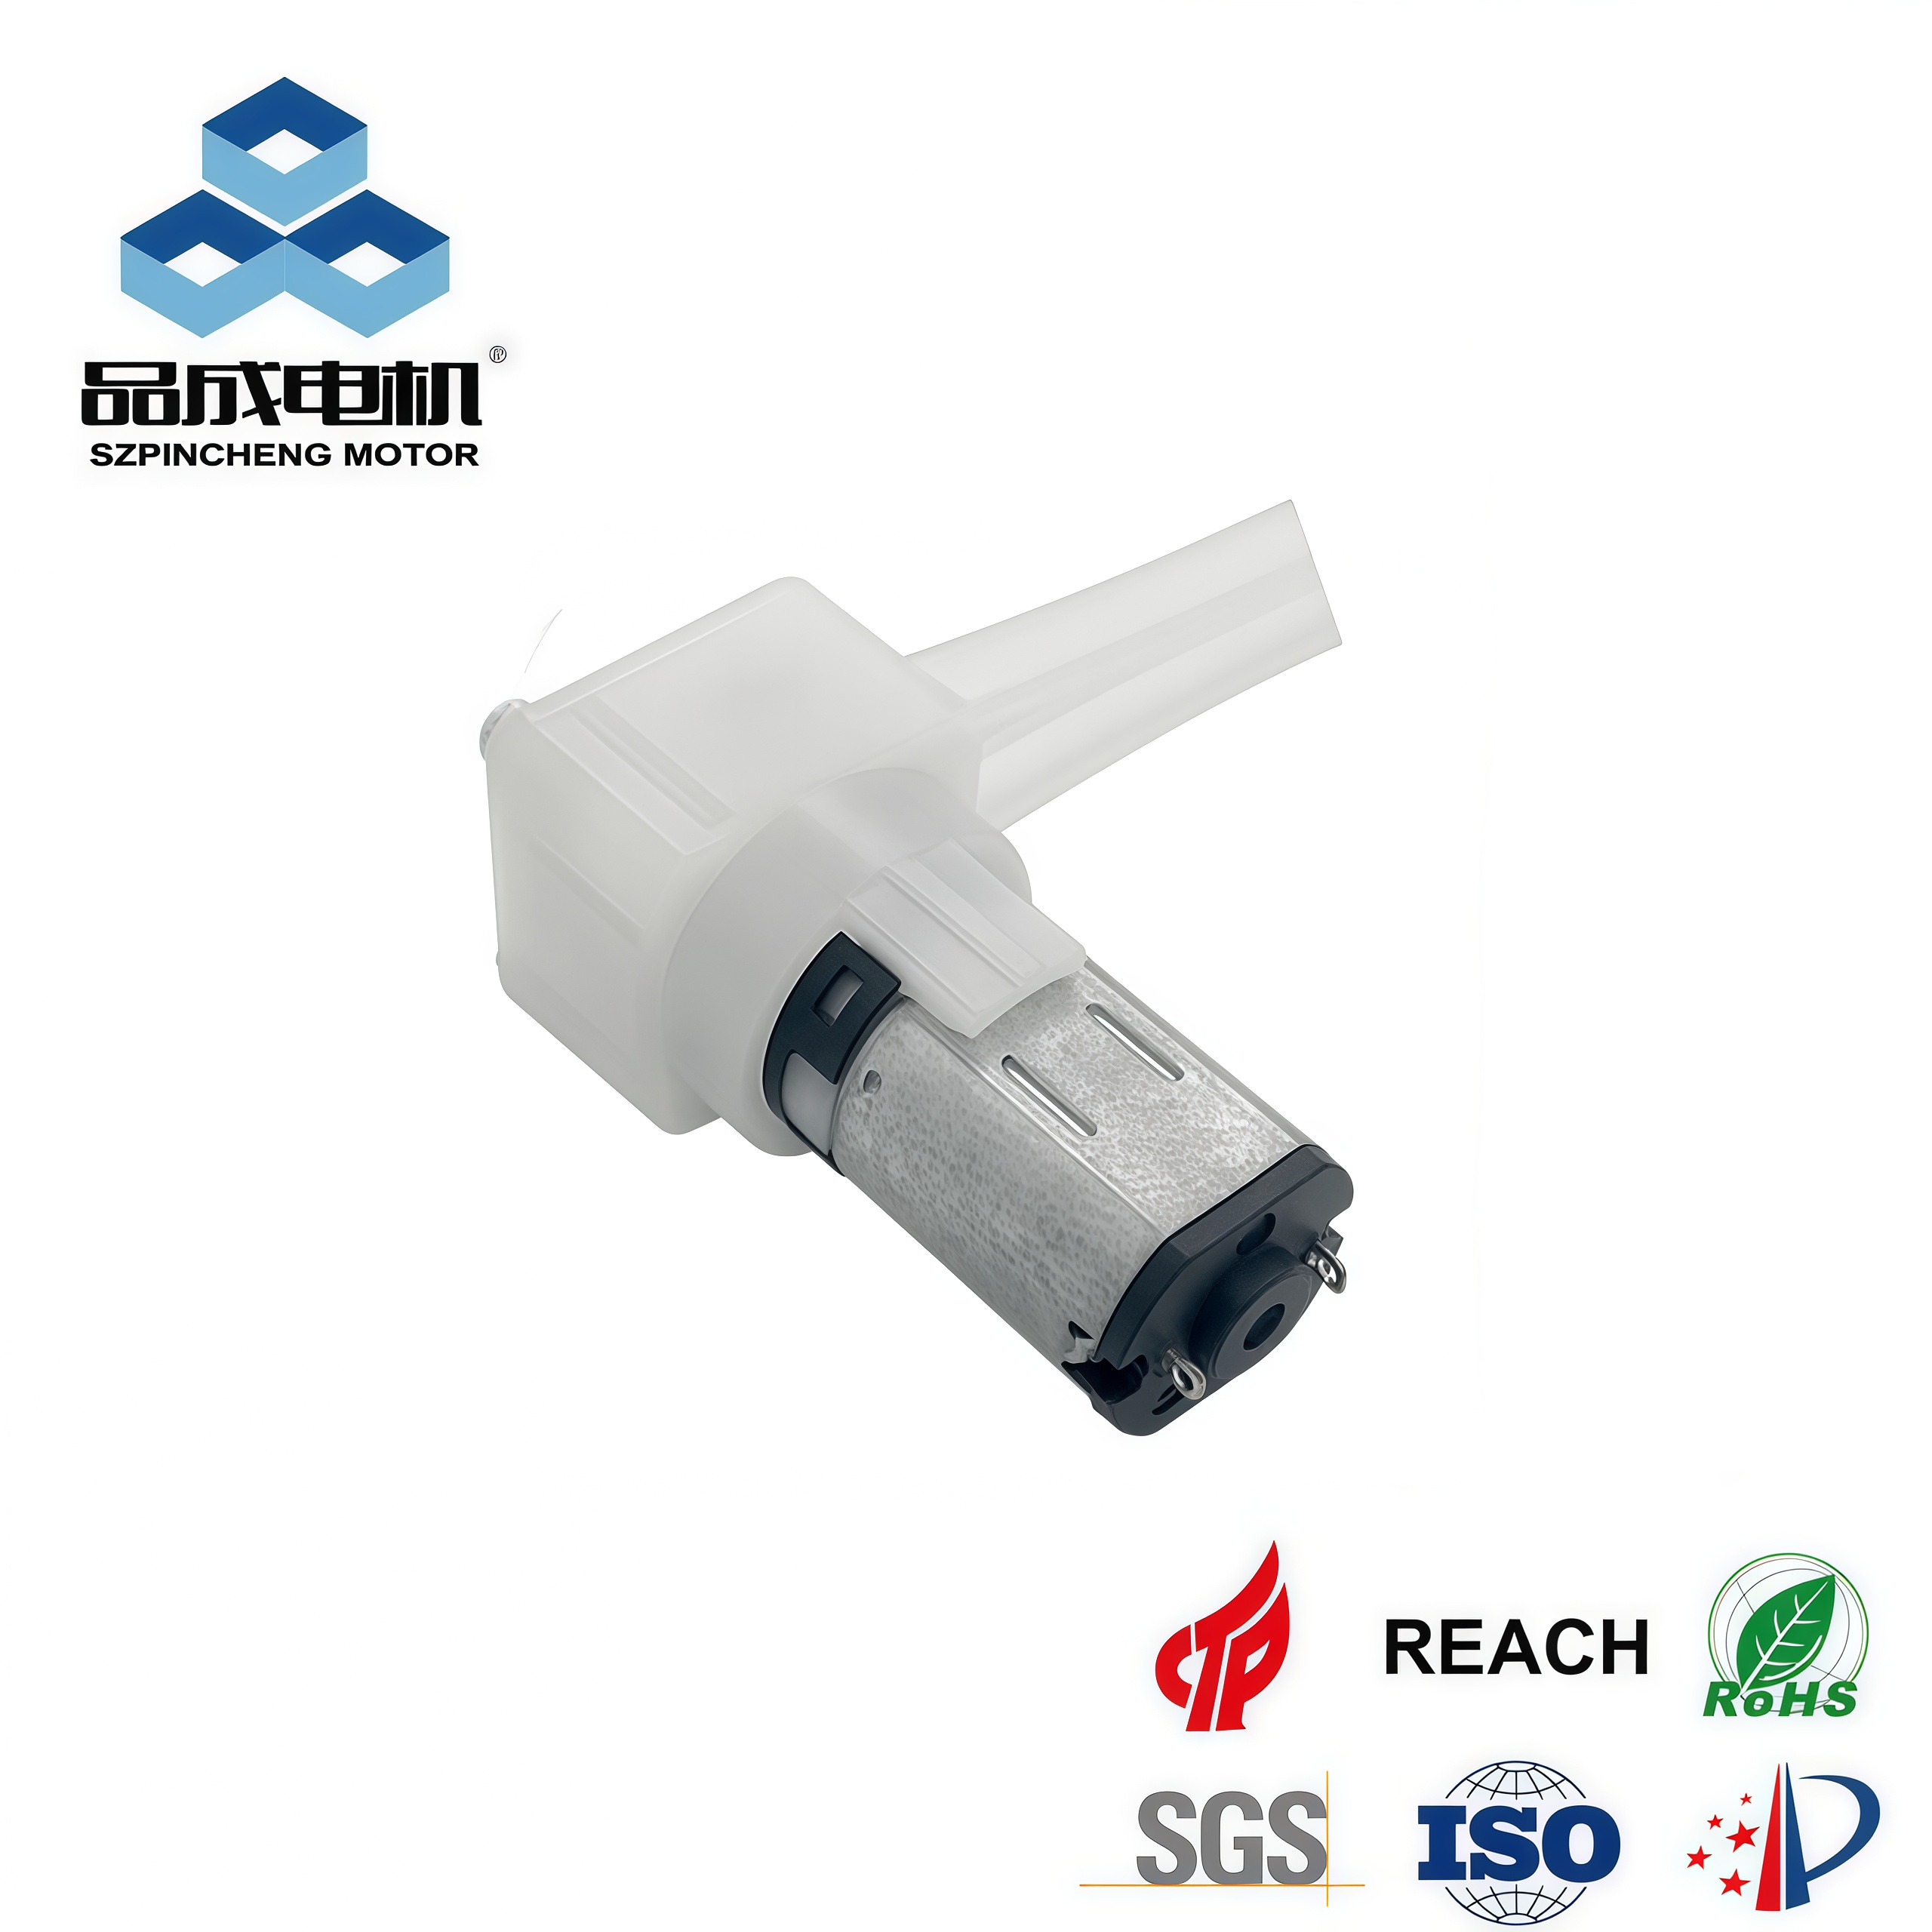
Precise flow rate control is one of the most valuable features of peristaltic pumps, making them indispensable in applications ranging from laboratory research to industrial processes. When working with a Mini peristaltic pump, understanding how to effectively manage its flow rate opens up possibilities for exact dosing, consistent fluid delivery, and optimized system performance. Whether you're using a 12v peristaltic pump for a DIY project or a specialized water peristaltic pump for analytical instruments, mastering flow control is essential.
This comprehensive guide explores the most effective methods for controlling your peristaltic pump's flow rate, from simple manual adjustments to advanced automated solutions.
Understanding the Fundamentals of Flow Control
Before implementing control methods, it's crucial to understand what determines flow rate in a Mini peristaltic pump:
- 1、Motor Speed (RPM): The primary control variable - flow rate is directly proportional to rotational speed
- 2、Tubing Inner Diameter: Determines the volume displaced per revolution
- 3、Fluid Properties: Viscosity and density affect actual flow performance
- 4、System Pressure: Backpressure from elevation changes or restrictions influences output
Primary Methods for Controlling Flow Rate
Motor Speed Control (Most Common Method)
For DC-powered pumps like the 12v peristaltic pump, motor speed control offers the most flexible and precise flow adjustment:
- PWM (Pulse Width Modulation): The most efficient method for Mini peristaltic pump control
- 1、Uses rapid on/off pulses to effectively reduce average voltage
- 2、Maintains motor torque while varying speed
- 3、Easily implemented with Arduino, Raspberry Pi, or dedicated PWM controllers
- Variable Voltage Regulation:
- 1、Simple potentiometer-based circuits
- 2、Linear voltage regulators
- 3、Less efficient than PWM but simpler to implement
Mechanical Adjustments
- Tubing Selection: Changing tubing inner diameter provides coarse flow adjustment
- 1、Larger ID = higher flow rate at same RPM
- 2、Smaller ID = lower flow rate, better for precise dosing
- Roller Head Configuration: Some pumps allow changing the number of rollers
- 3、More rollers reduce pulsation and can improve low-flow accuracy
Practical Implementation Guide
For Basic Applications (Manual Control):
- Use a variable power supply with voltage adjustment
- Install a potentiometer in series with your 12v peristaltic pump
- Calibrate flow rate at different control settings
For Critical Applications:
- 1、Use stepper motor-driven peristaltic pumps
- 2、Implement closed-loop control with flow sensors
- 3、Add feedback systems for compensation
Calibration and Verification
Regardless of control method, calibration is essential:
- 1、Collect output over a measured time period
- 2、Calculate actual flow rate: Volume/Time
- 3、Create calibration curve relating control signal to flow rate
- 4、Verify accuracy across the operating range
For a water peristaltic pump, calibrate with the actual fluid being used, as viscosity differences affect flow characteristics.
Troubleshooting Flow Rate Issues
- 1、Inconsistent flow: Check for tubing wear, motor instability, or voltage fluctuations
- 2、Reduced maximum flow: Inspect for tubing degradation, motor wear, or increased system pressure
- 3、Pulsation effects: Consider adding pulse dampeners or increasing roller count
Advanced Control Strategies
- 1、PLC Integration: For industrial applications
- 2、Computer Control: RS-232, USB, or Ethernet interfaces
- 3、IoT Connectivity: Remote monitoring and adjustment
- 4、Multi-pump Synchronization: For complex fluid handling systems
Best Practices for Optimal Control
- 1、Always calibrate with your specific tubing and fluid
- 2、Maintain consistent voltage for stable operation
- 3、Monitor tubing condition and replace regularly
- 4、Consider environmental factors like temperature effects on viscosity
- 5、Implement safety limits to prevent over-dosing or dry running
you like also all

Read More News
Post time: Oct-07-2025